Validate, apply and restore
Changes in the configuration editor are not written at once. They wait as pending changes until you apply them, and they are applied together in one transaction: either all of them are saved, or none. Before every Apply, YTCC takes a restore point, so an applied change can be taken back later.
Before you begin
- The project is open in the configuration editor. With authentication on, applying needs the Configuration editing permission.
Steps
1. Make changes
Edit the configuration, for example add a signal. A new or changed row is marked new and grouped under New — not applied (n). The toolbar shows Apply (n) with the number of pending changes, and the status bar shows n unapplied changes.
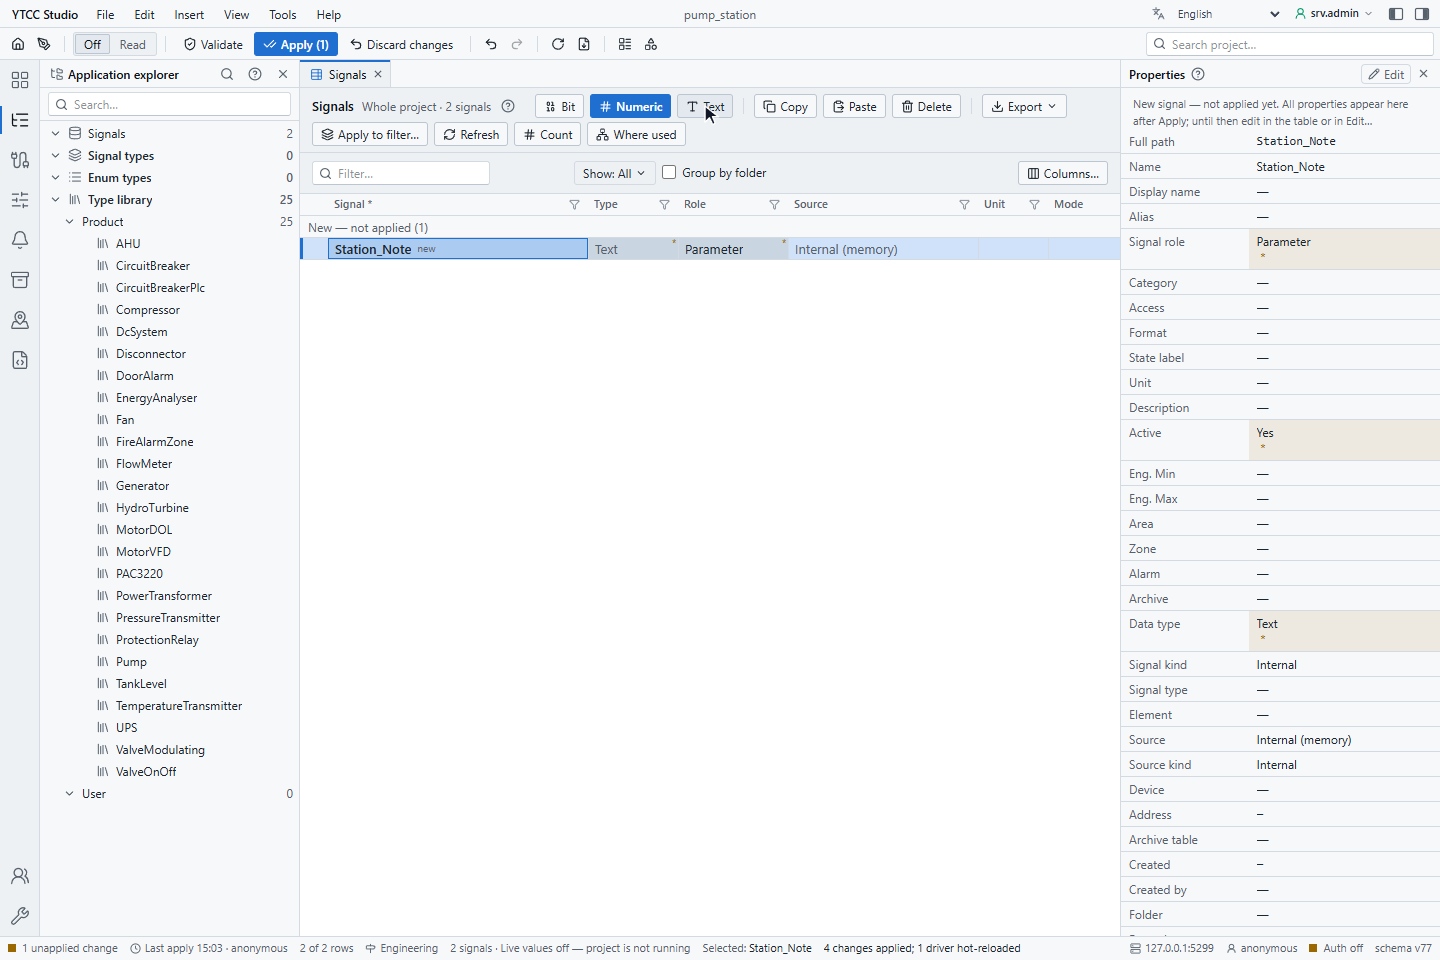
Pending changes stay when you switch views. Edit › Undo (Ctrl+Z) takes back the last pending change.
2. Validate the changes
Choose File › Validate, or click Validate in the toolbar. The server checks the pending changes against all rules and database constraints without saving anything (a dry run). Validate changes shows:
- No errors, or the number of validation errors and warnings. Click an issue to go to its row. Errors block Apply; warnings do not.
- The counters Insert, Update, Delete, Unchanged, and a table with Entity, Key, Operation and Changed fields.
- Affected drivers, each with will hot-reload or requires a restart.
- Description (optional): a note that is written to the audit log with the change.
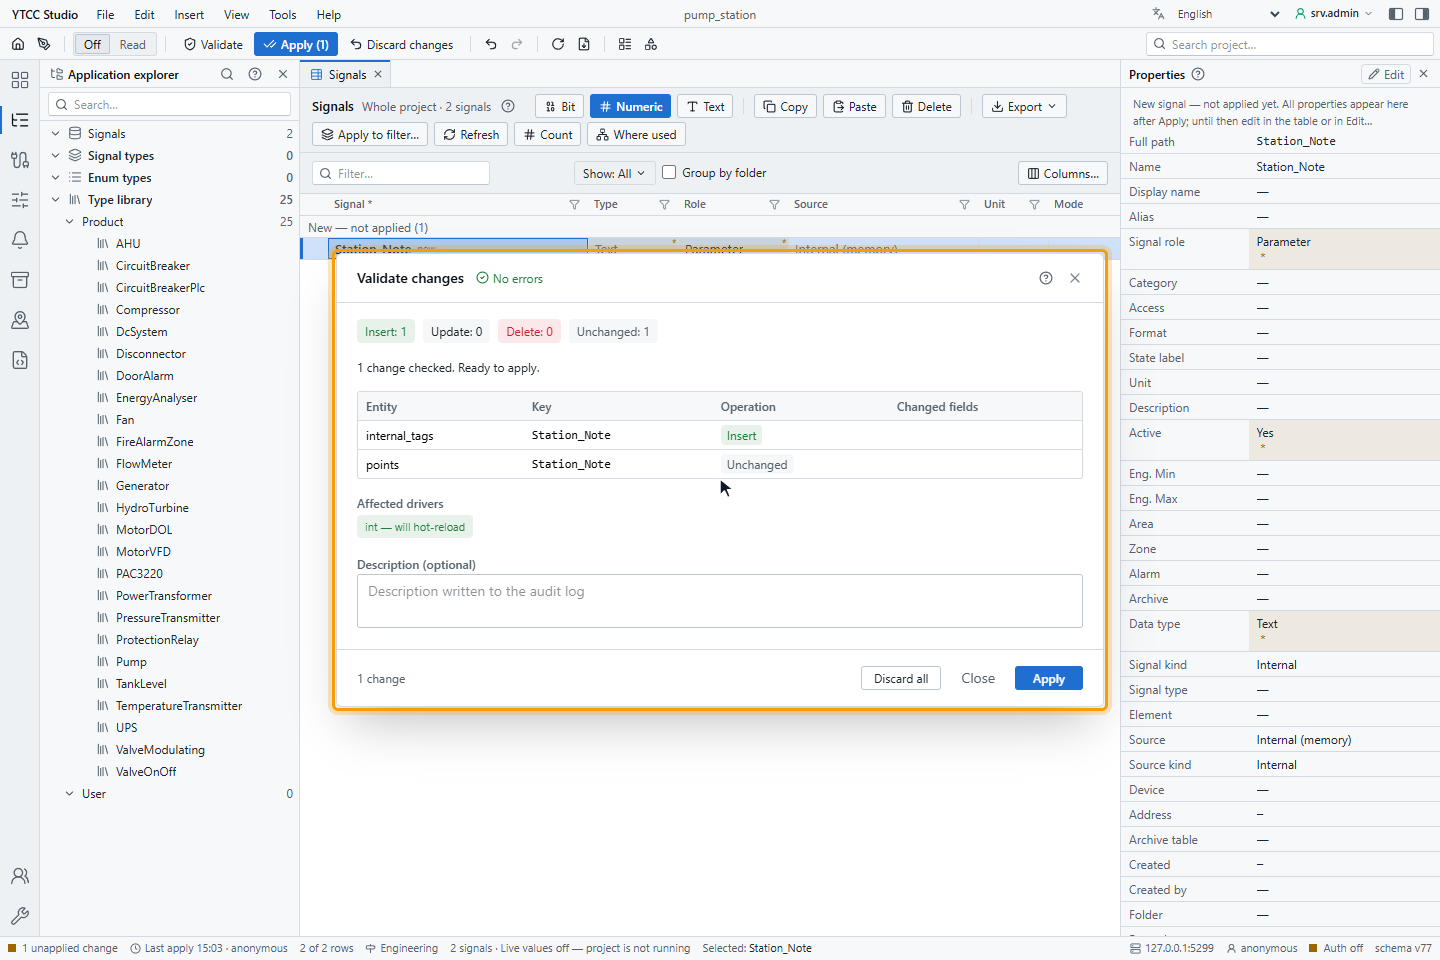
Click Close to go back to editing; the changes stay pending.
3. Discard changes (optional)
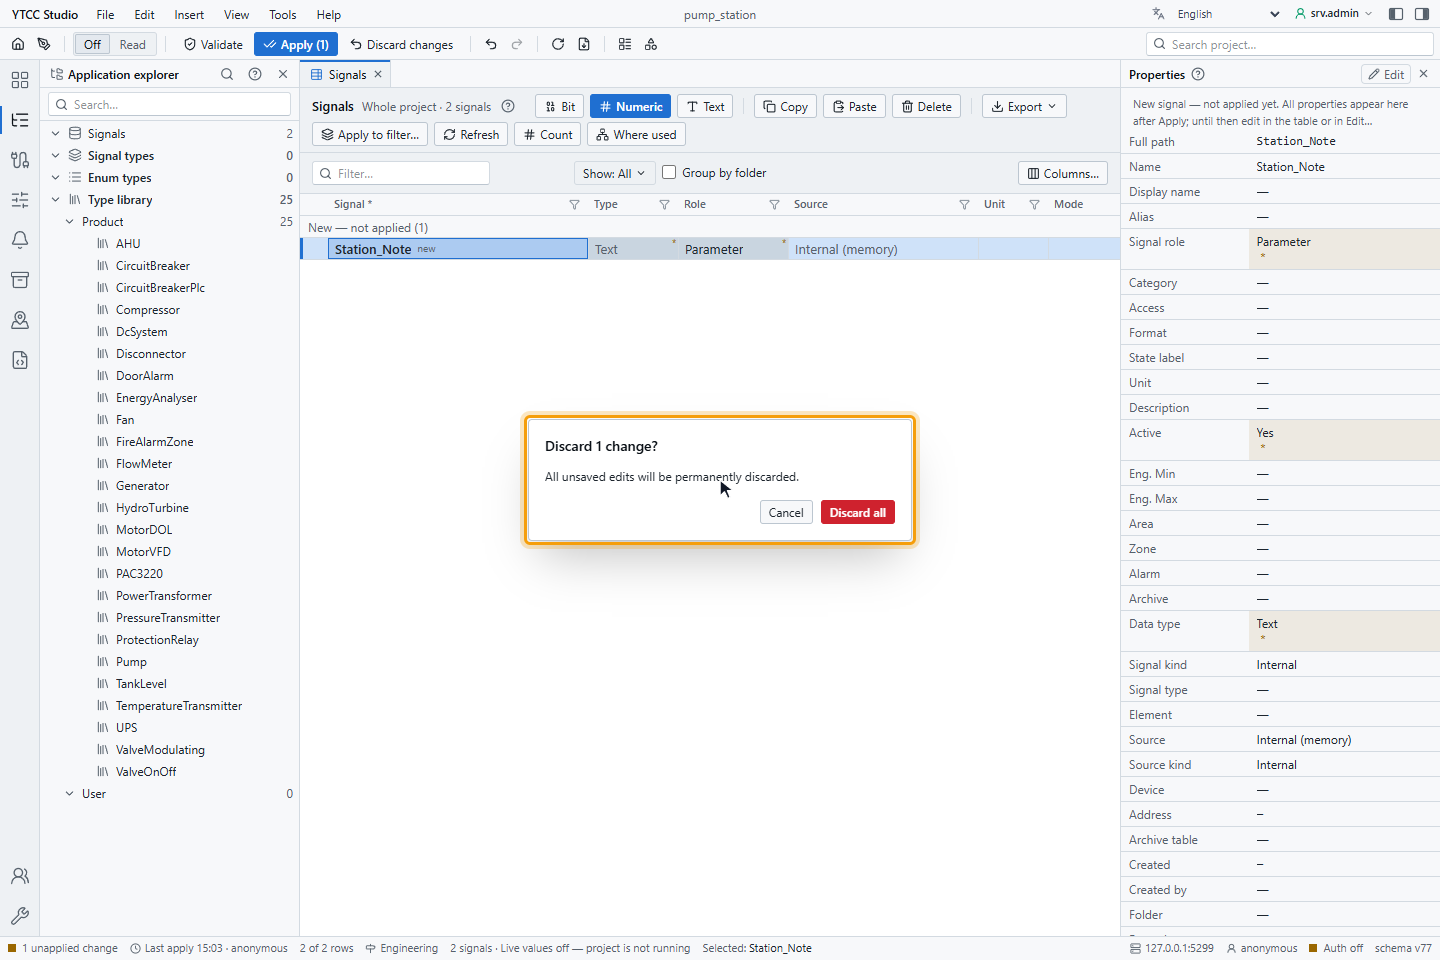
File › Discard changes, or Discard changes in the toolbar, asks Discard n change?: All unsaved edits will be permanently discarded. Discard all drops every pending change; Cancel keeps them.
4. Apply the changes
Press Ctrl+S, choose File › Apply, or click Apply (n). The same window opens; click Apply. Apply result shows the counters and Errors: 0; click OK. The status bar then shows Last apply with the time and the user.
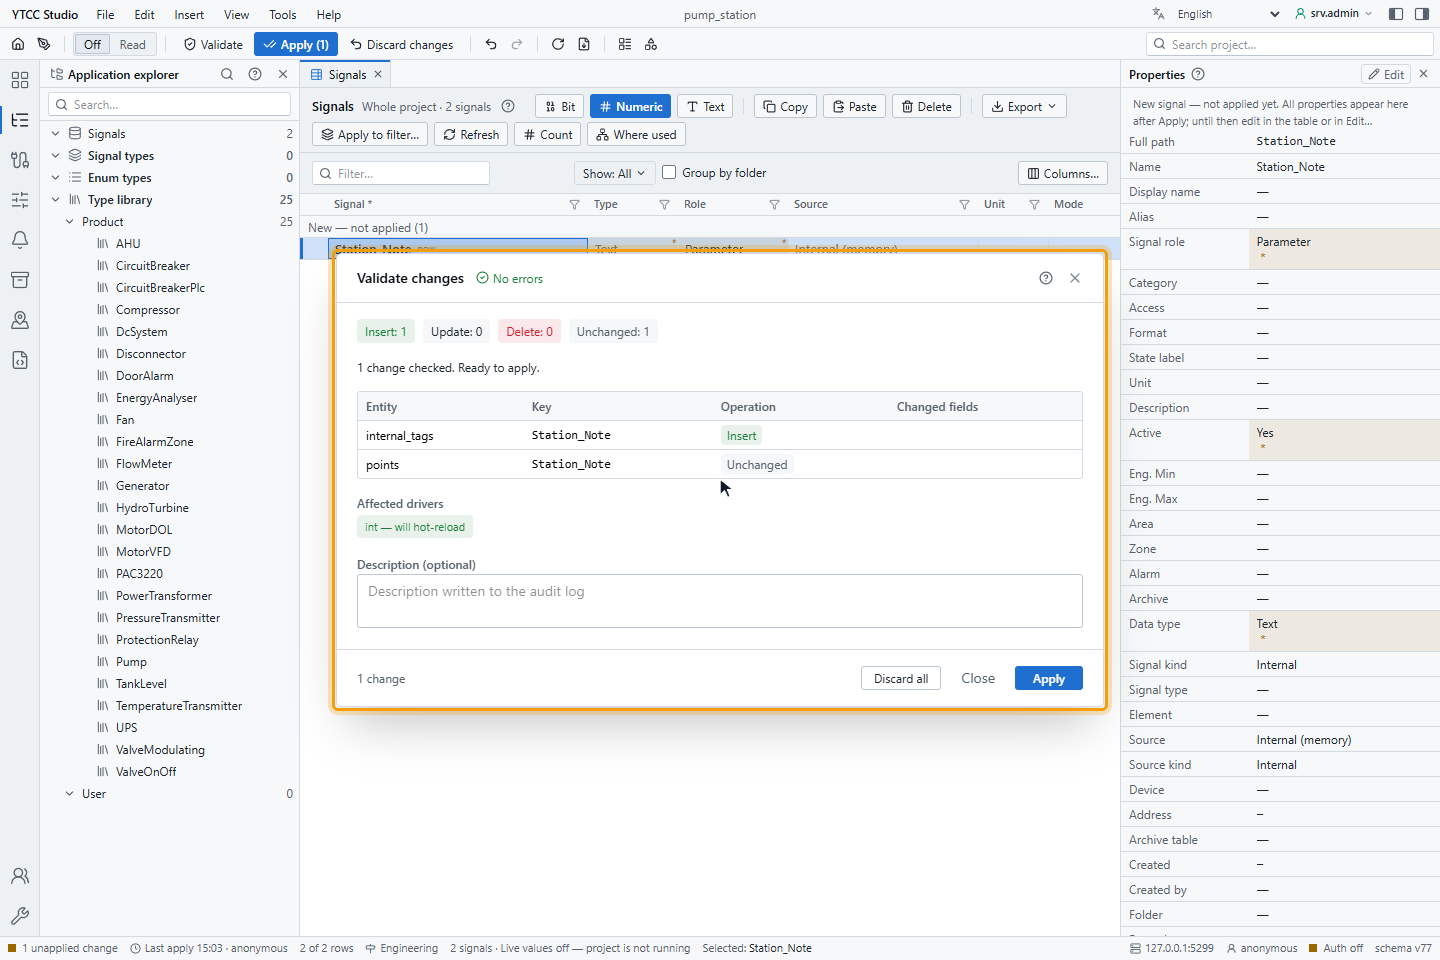
If any change fails on the server, nothing is written and the pending changes are kept, so you can correct them and apply again.
5. Open the restore points
Choose File › Restore point…. Restore points lists the applied changes, newest first, with #, Time, User, Source, Changes and Summary. Select a row to see what restoring it would do, for example 1 record will be removed.
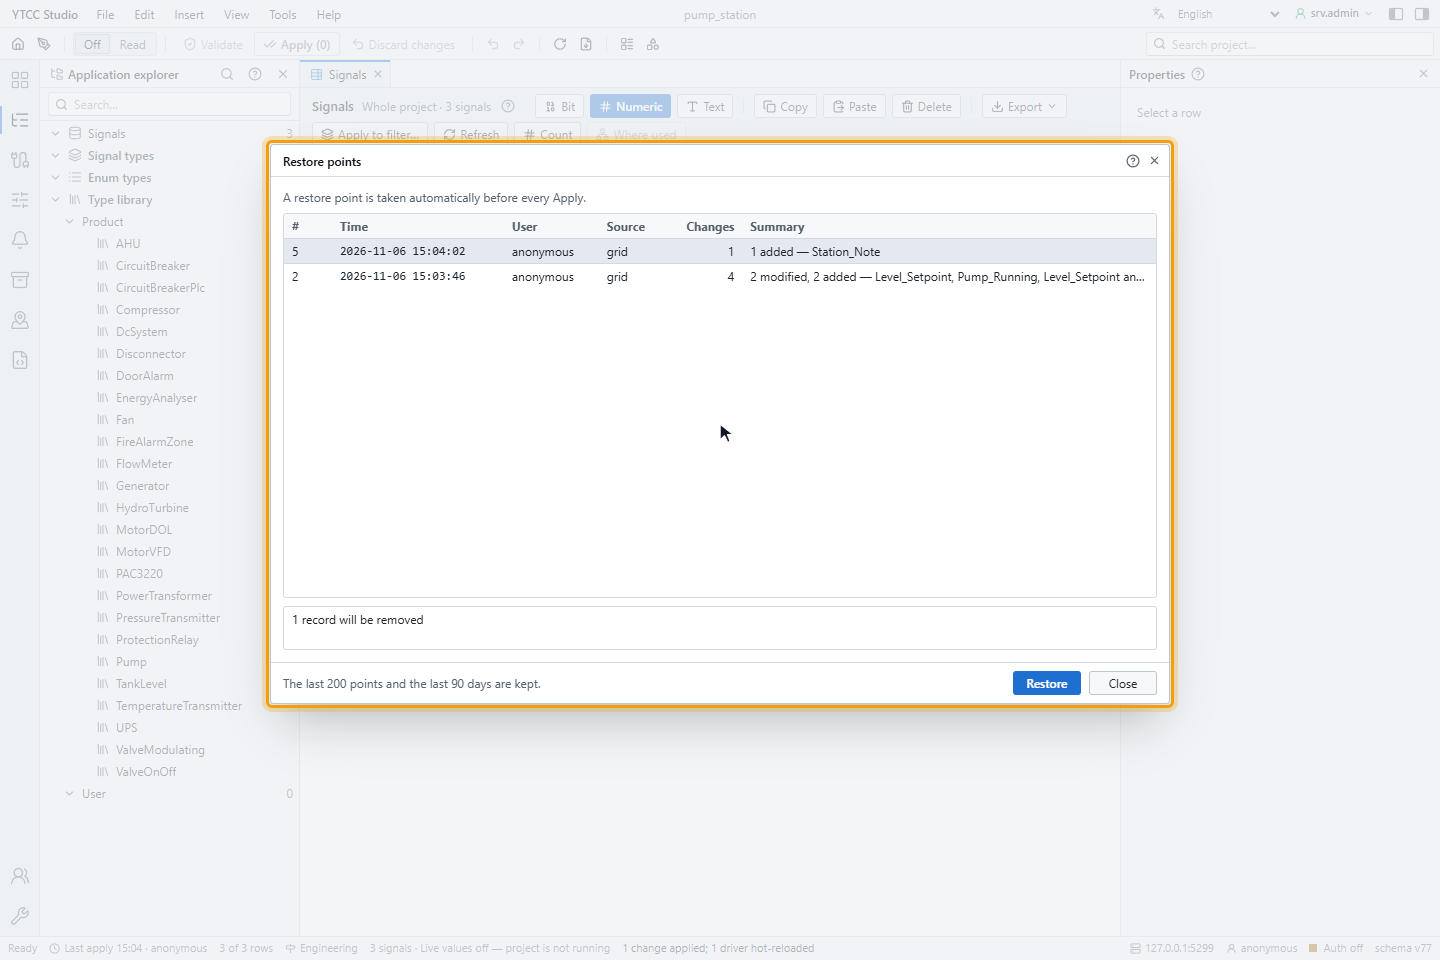
The last 200 points and the last 90 days are kept. Both limits are project settings (Restore settings). While there are pending changes, the window says, for example, 2 unapplied changes — apply or undo them first. and Restore is not available.
6. Restore to before a point
Select the point and click Restore. The window asks Restore to the state before apply #n?: changes made after the selected point are reverted, and the restore itself leaves a restore point, so it can be undone if needed. Click Restore.
The restore is added to the pending changes: Restore point #n added to pending changes — press Apply to confirm. Apply it as in step 4.
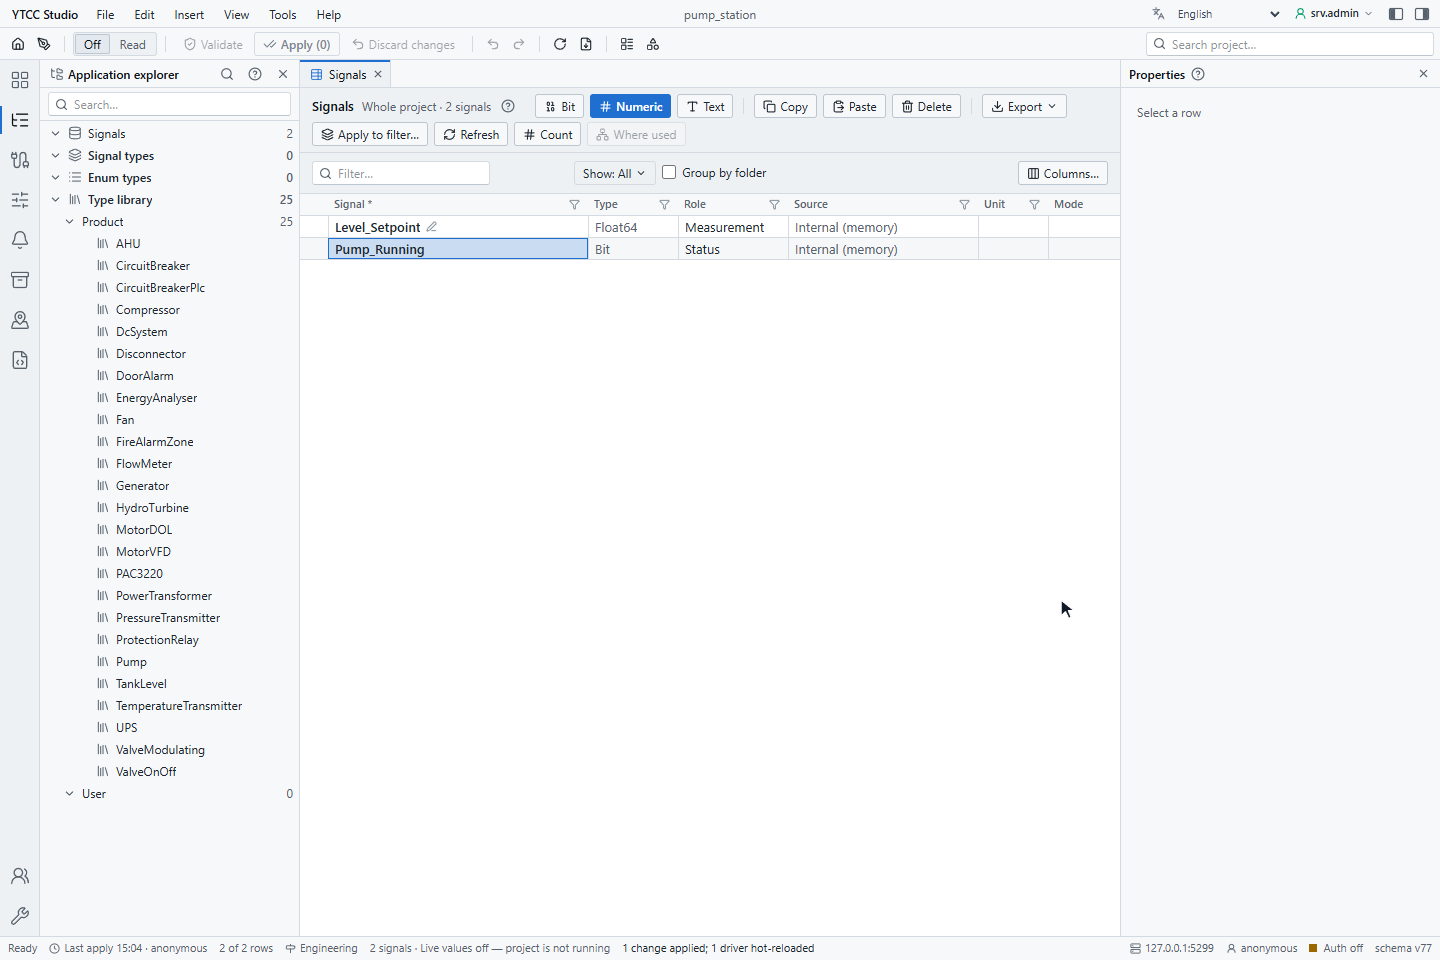
If a point cannot be restored, the window says Cannot restore to this point: with the reason.
Result
The configuration is back at the state before the selected point, and that restore is itself a new restore point.