Operator dialog templates
The runtime screen opens built-in dialogs when an operator sends a command, takes control of an area or signs in. A template replaces the look of such a dialog with a popup of the project: its size, caption, colors and extra objects are yours. The safety content (reason, password, second user, interlocks, select and confirm) sits in fixed system blocks and cannot be changed.
Before you begin
- A project is open in the screen editor.
Steps
1. Find the operator dialogs
Click an empty part of the page. Under Project, the group Runtime › Operator dialogs lists each dialog with its template; Builtin means the built-in dialog.
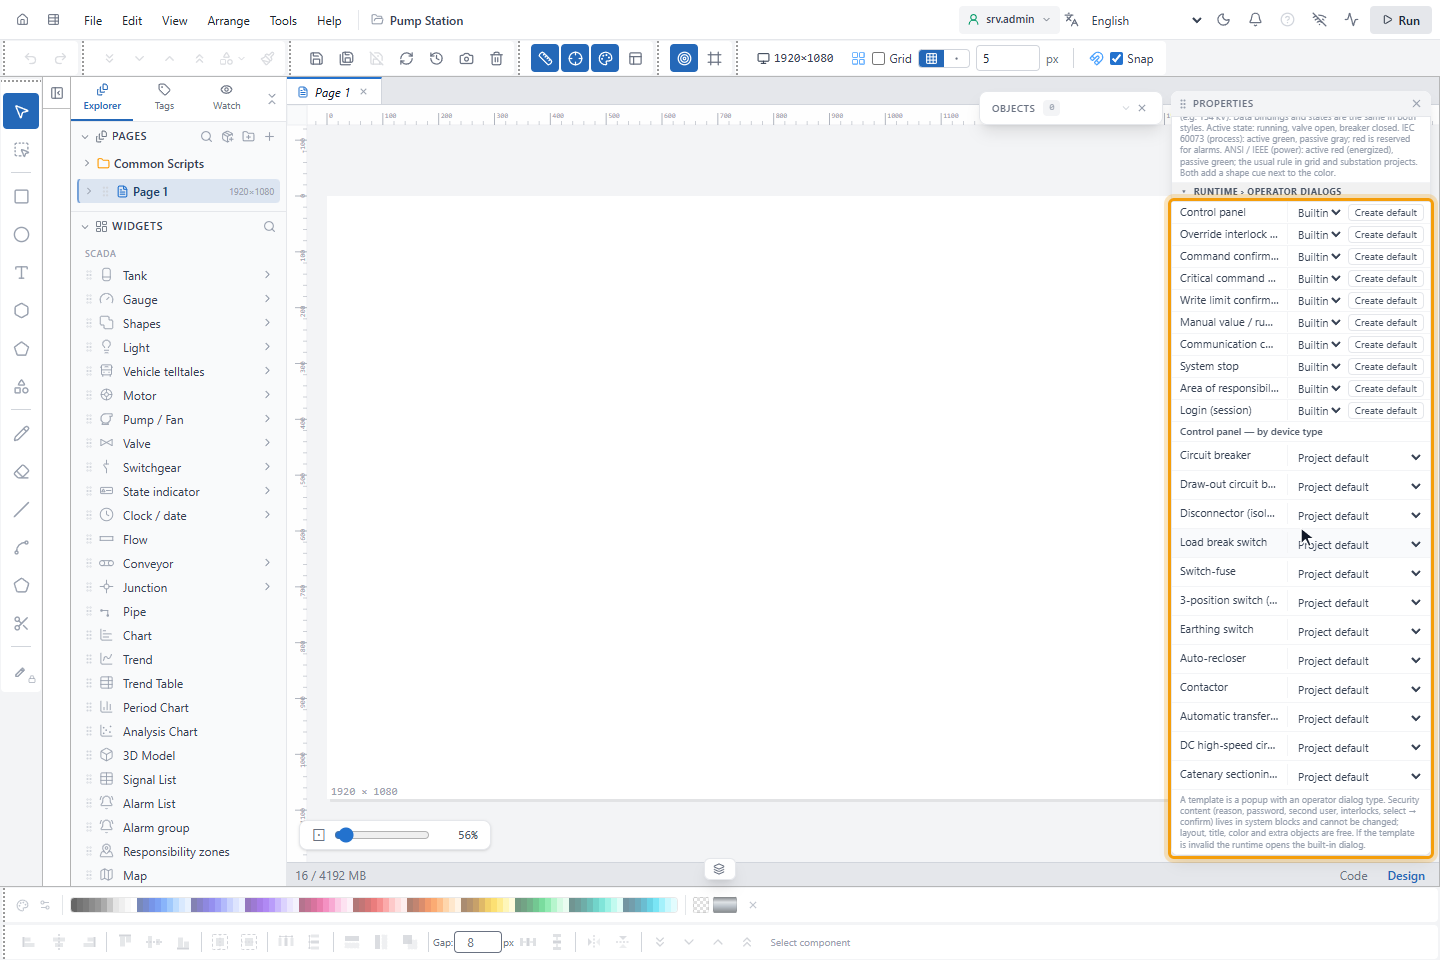
| Dialog | Appears when | System block |
|---|---|---|
| Control panel | An operator opens the control panel of an electrical device | Status block, Command block, Interlock block |
| Override interlock and force send | An interlock is overridden on the control panel | Force send form |
| Command confirmation | A command to a field device is confirmed | Command confirmation form |
| Critical command — reason / four-eyes | A critical command asks for a reason and a second user | Reason / four-eyes form |
| Write limit confirmation | A value outside the write limits is corrected | Write limit form |
| Manual value / run mode | An operator sets a manual value or a run mode | Run mode form |
| Communication control confirmation | A driver is started, stopped or restarted | Communication confirmation form |
| System stop | The system is stopped | System stop form |
| Area of responsibility | Control of an area is taken or requested | Area of responsibility form |
| Login (session) | An operator signs in | Login form |
Control panel — by device type chooses a separate control panel template for each kind of switching device, such as Circuit breaker, Disconnector (isolator) or Earthing switch; Project default uses the template of Control panel.
2. Create a template
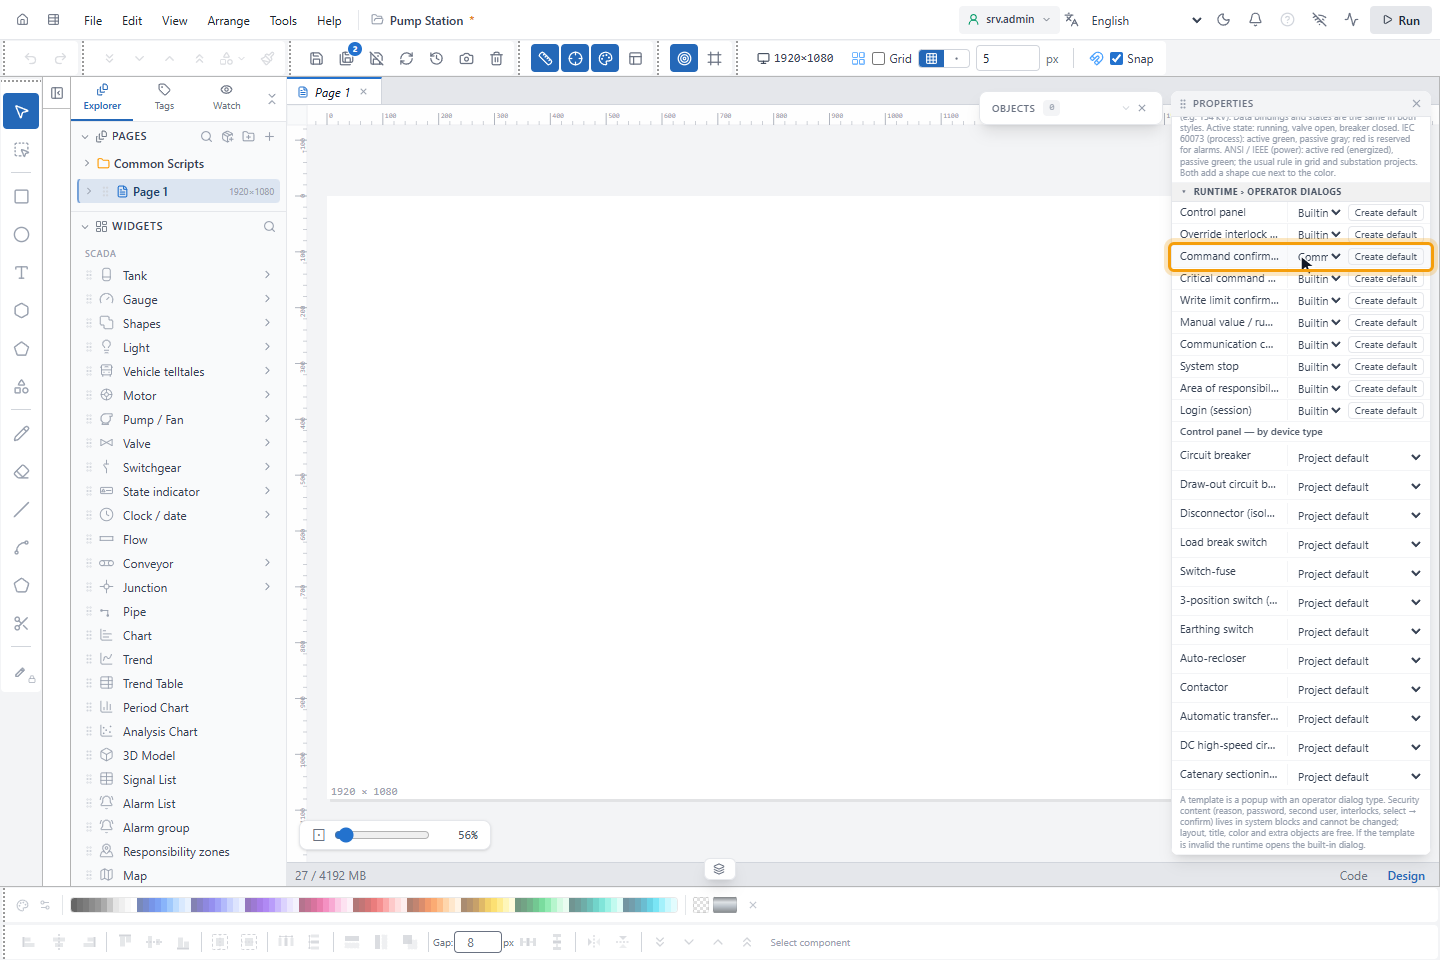
Click Create default next to a dialog, here Command confirmation. A popup with the current look and the system block is created under MODALS, named after the dialog, and assigned to it.
3. Edit the template
Open the popup from the MODALS section and design it like any popup: move and resize the system block, change the caption and colors, add a logo or instructions. The system block shows System block — content at runtime (only the layout can change).
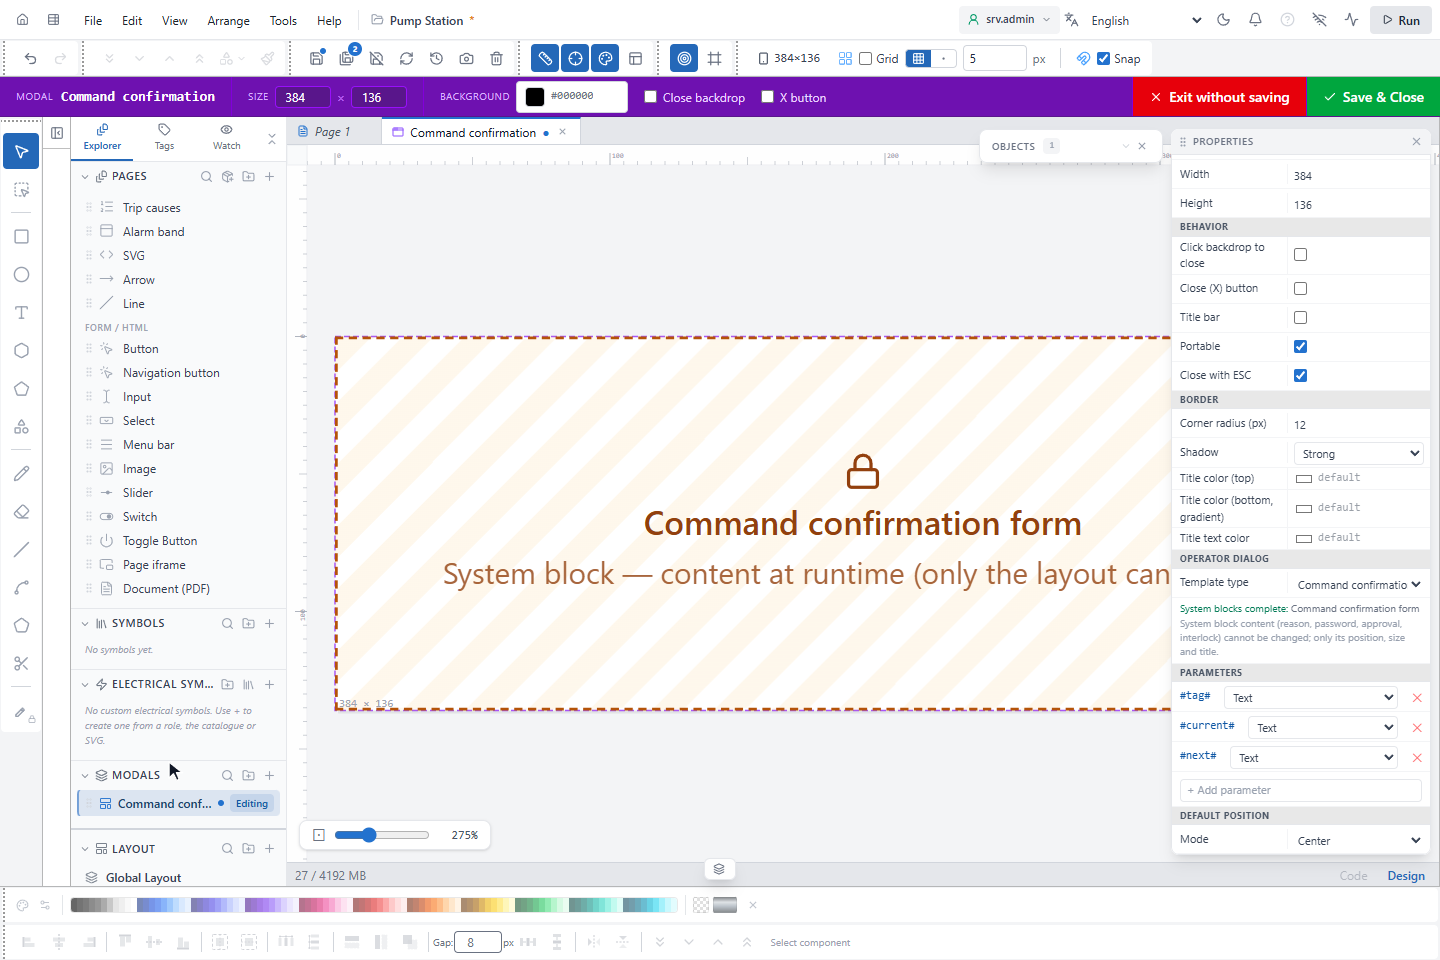
Placeholders such as #description#, #tag#, #current# and #next# in texts are filled in by the dialog (each dialog
has its own, for example #name# and #type# for the control panel). The BORDER group sets the corner radius, shadow and
title colors as in any popup; a template without its own corner radius has 4 px.
Rules of a template
- Each system block of the dialog must be in the template exactly once; blocks of other dialogs are not allowed. The last copy of a required block cannot be deleted.
- A template with missing, double or foreign blocks cannot be saved; the message names the popup and the blocks.
- When the assigned template is missing or invalid, the runtime screen opens the built-in dialog; the row shows a red ⚠.
- A template changes only the look. Permissions, approvals and checks of the dialog stay the same.
Good to know
- The control panel and the manual value template float next to the object; the others block the screen until they are answered.