Symbols
A symbol is a drawing that you make once and place on as many pages as you need, for example a pump with its status light. Every placed copy, called an instance, follows the symbol: change the symbol and all instances change. With parameters, each instance can show a different pump.
Before you begin
- The project is open in the screen editor. See A tour of the screen editor.
Steps
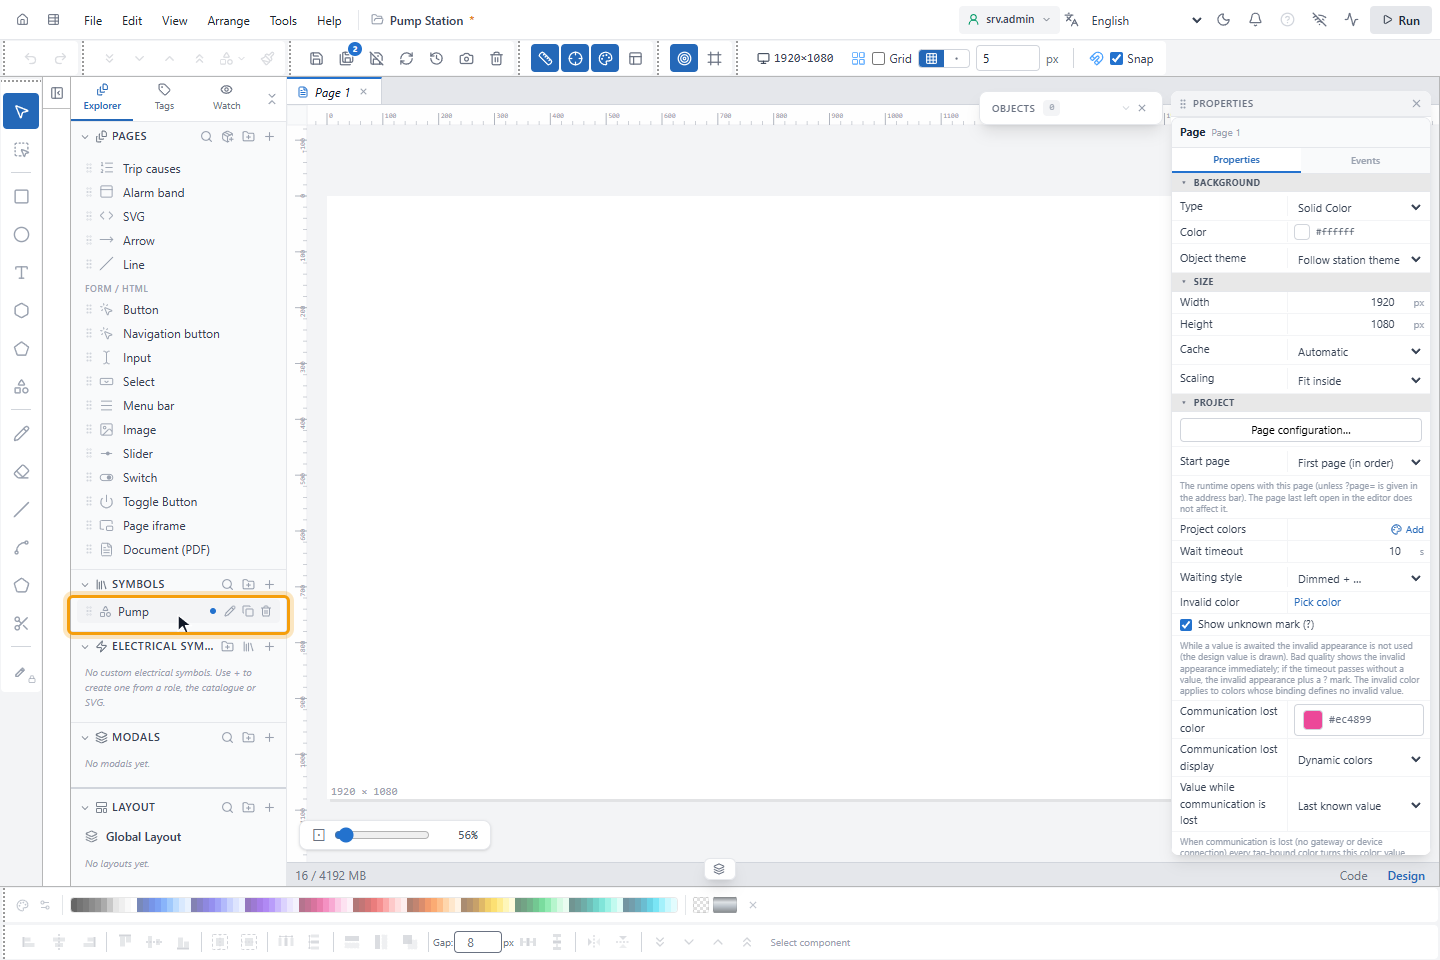
1. Create the symbol
Click New item (+) in the SYMBOLS header. A name box opens with New Symbol in it. Type the name, for
example Pump, and press Enter. The new symbol is empty.
2. Draw the symbol
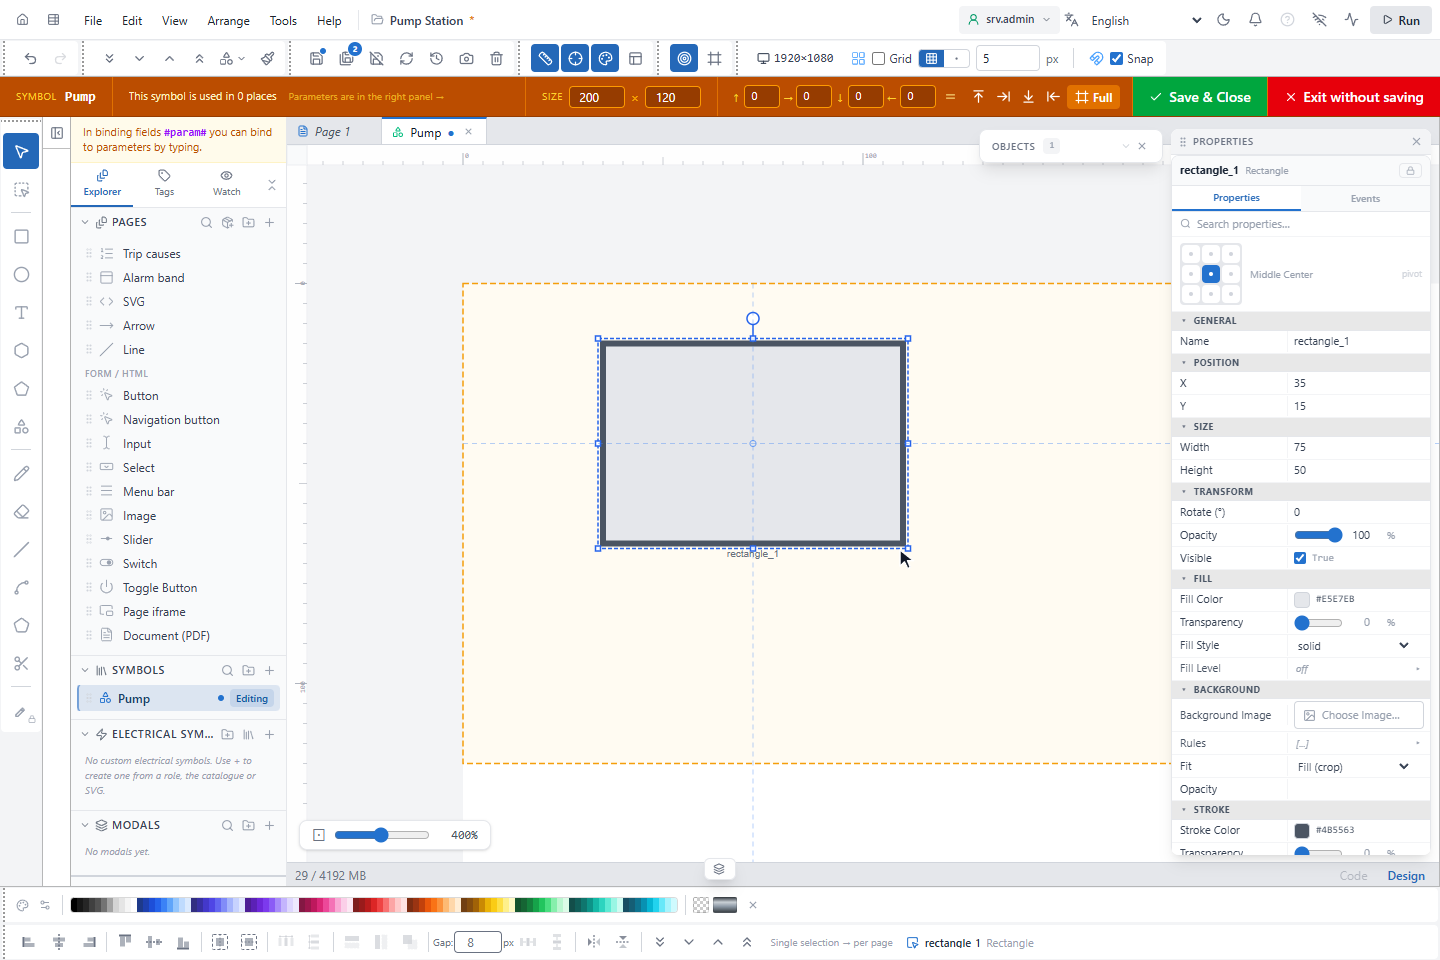
Double-click the symbol in SYMBOLS to edit it. An orange bar at the top shows the symbol name, how many times it is used, its SIZE and the fit buttons. Draw the content with the usual tools. To reuse objects from a page, copy them there and paste them into the symbol.
3. Add parameters (optional)
With nothing selected, the PROPERTIES panel shows the symbol's PARAMETERS. Type a name in + Add parameter,
for example p1, and press Enter. Choose the type: Tag, Text, Number or Color.
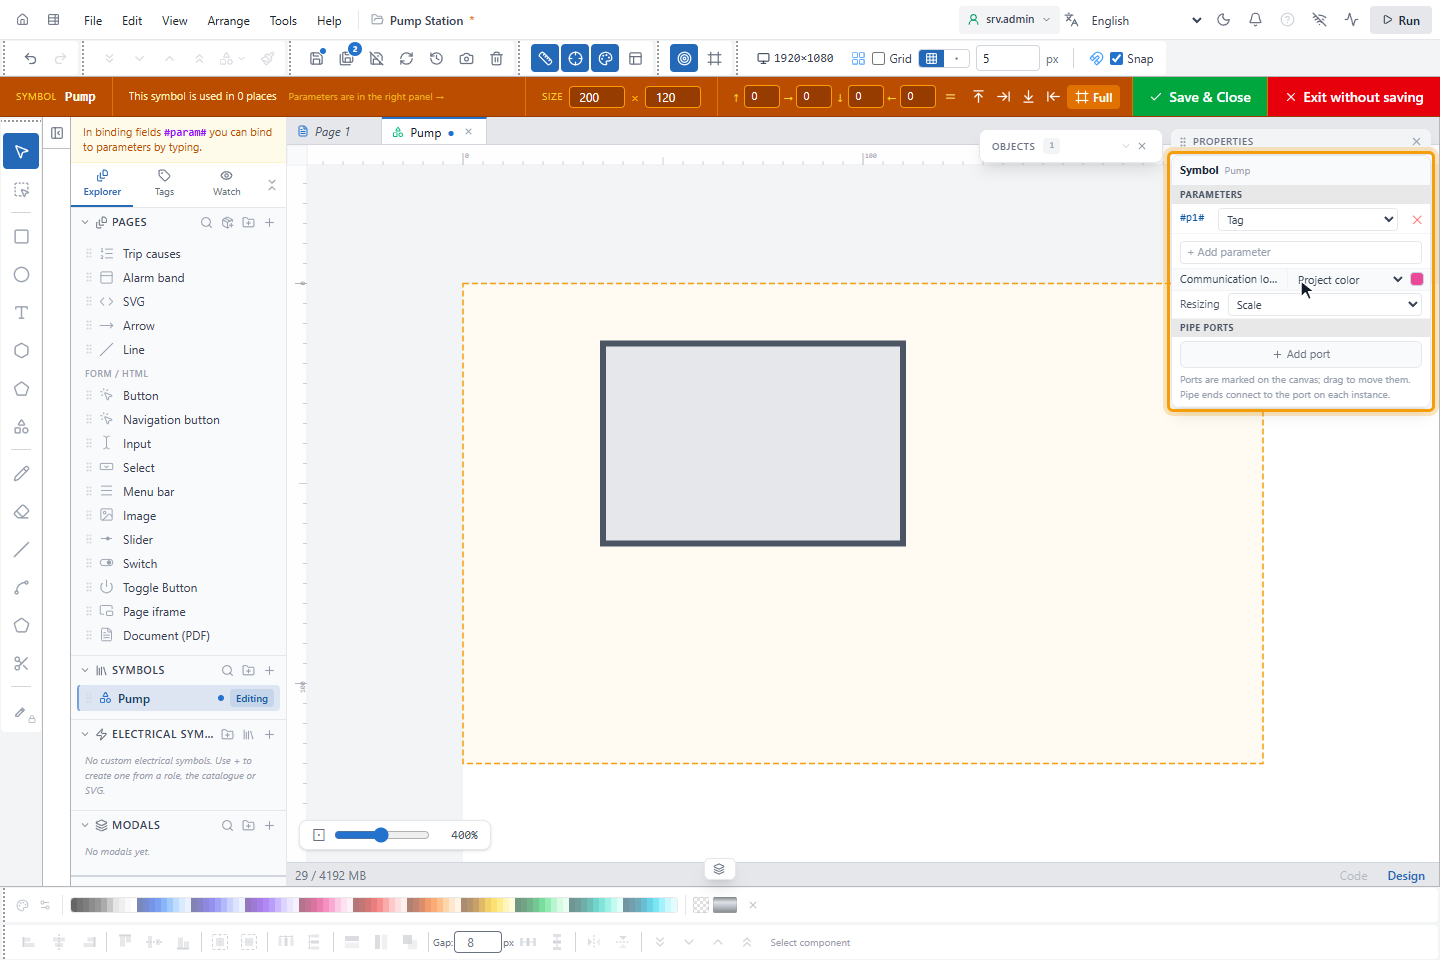
Inside the symbol, write the parameter between # signs wherever a value should come from the instance, for example
#p1#.status in a signal binding or #p1# in a text. When you are done, click Save & Close. Exit without saving
throws away the changes of this editing session.
4. Place the symbol on a page
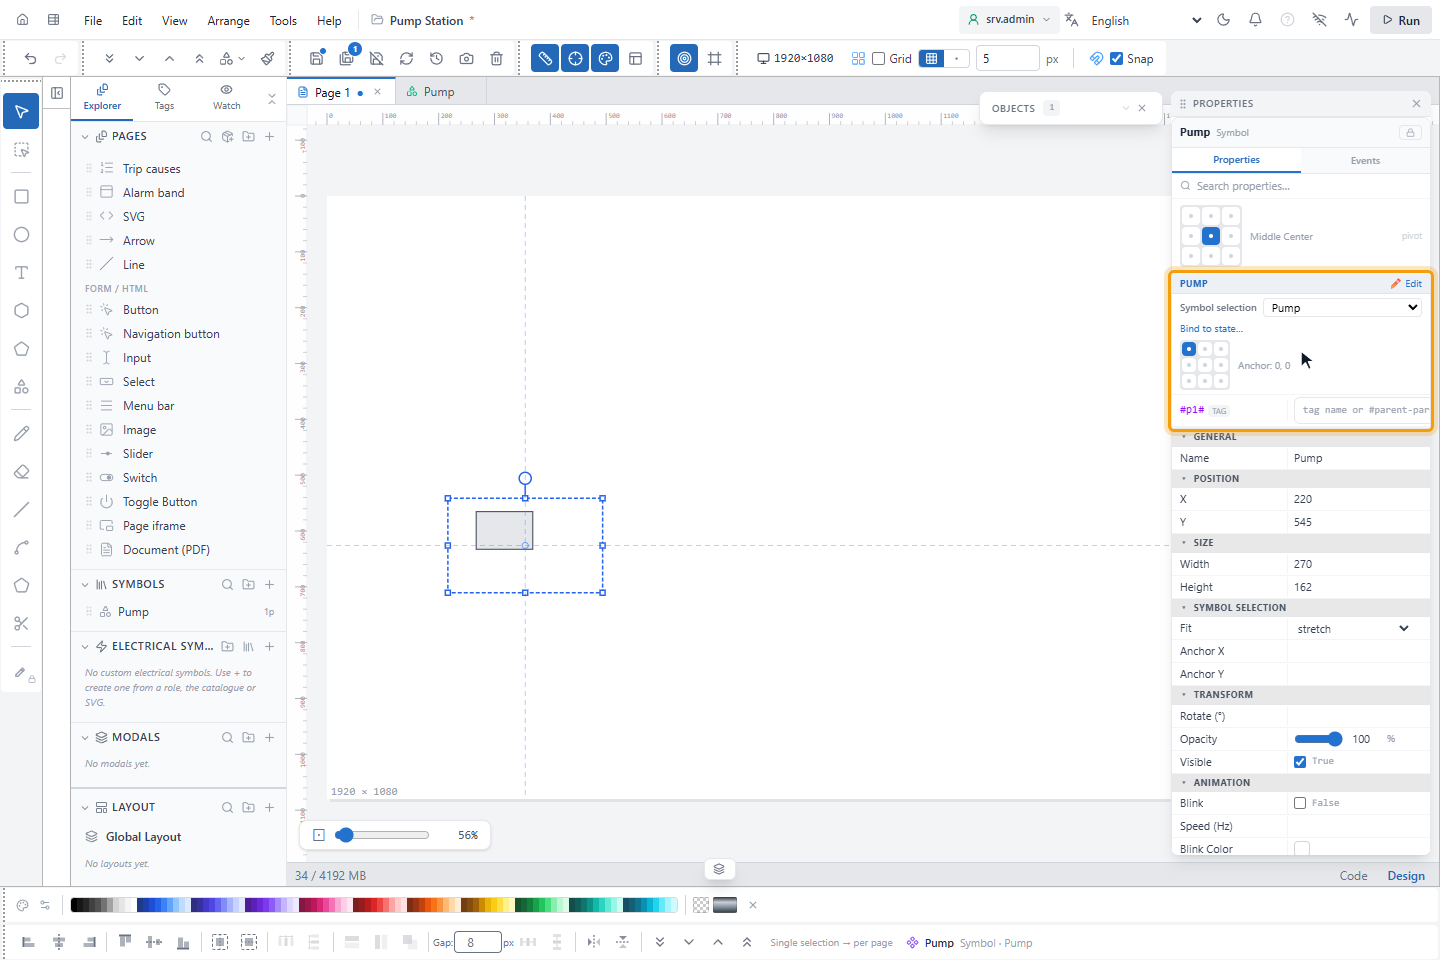
Click the symbol in SYMBOLS once and draw a rectangle on the page, or drag the symbol onto the canvas. The
PROPERTIES panel of the instance shows a section with the symbol name and a value for each parameter. For a Tag
parameter, choose the signal, for example the signal path of this pump. For a Color parameter, pick a color or type
one, for example #1E90FF; a value that is not a color is shown in red, an empty value in yellow.
5. Use the instance menu
Right-click an instance for its menu:
- Edit symbol (Ctrl+E) opens the symbol for editing. Changes apply to every instance.
- Instance parameters jumps to the parameter values in PROPERTIES.
- Reveal in Explorer shows the symbol in SYMBOLS.
- Explode (Ctrl+Shift+U) replaces the instance with the objects of the symbol, so that you can change this copy on its own. If something cannot be carried over, for example events, scripts or an animation, YTCC lists it and asks before exploding. Ctrl+Z undoes it.
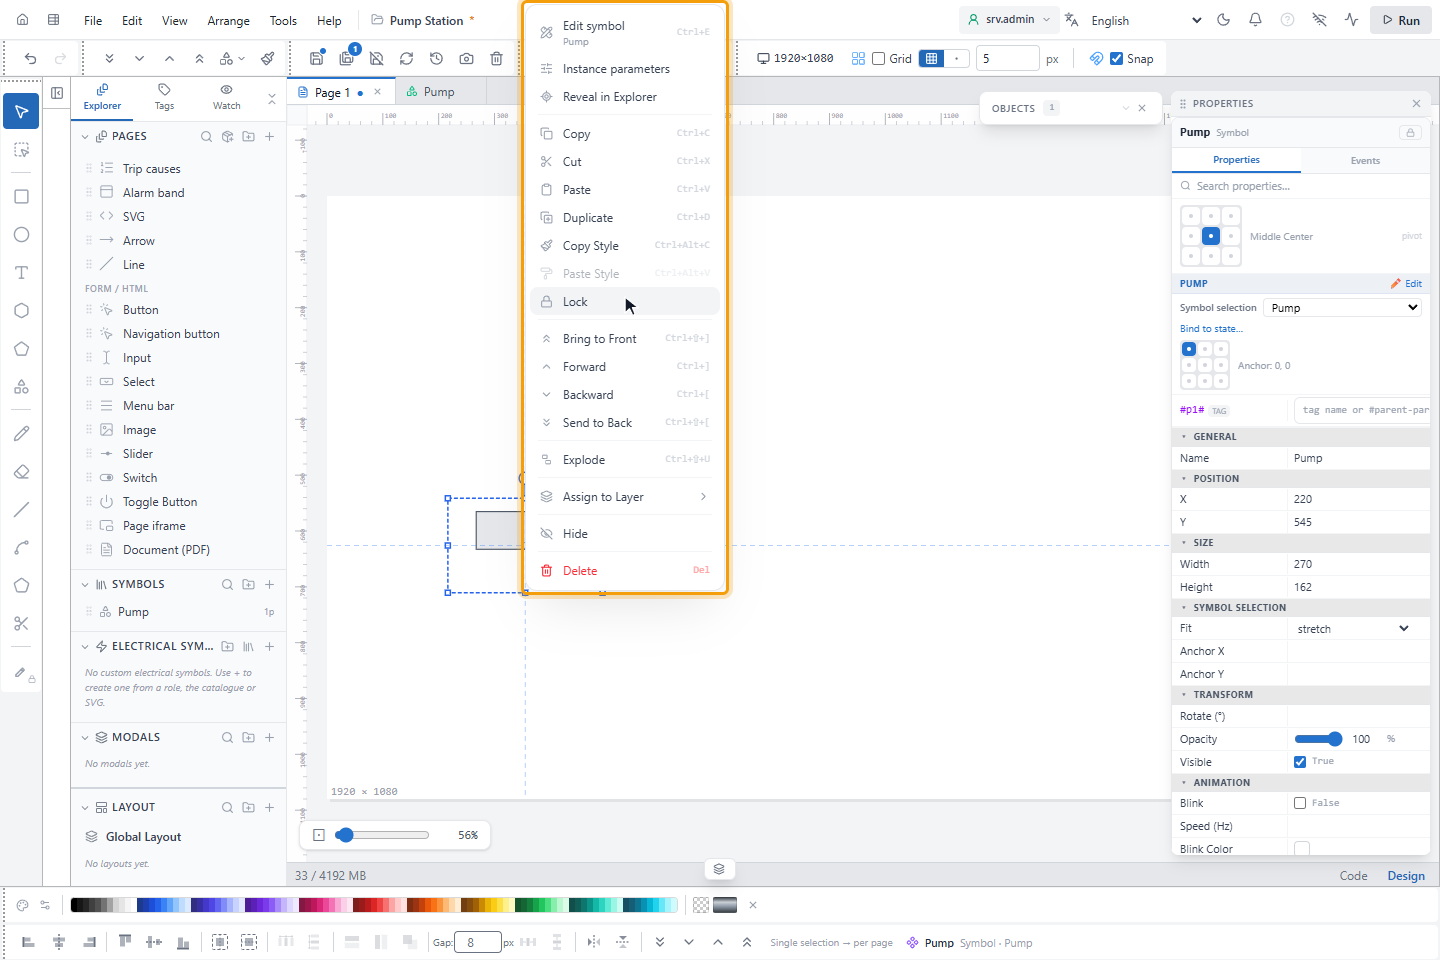
Result
The symbol is on the page, and each instance shows the values of its own parameters.
Size and position of an instance
Under SYMBOL SELECTION in PROPERTIES:
- Fit:
stretch(default) scales the symbol to the instance box in both directions;originaldraws it at its own size. - Anchor X / Anchor Y and the 3 × 3 anchor picker set which point of the symbol stays fixed in the box. The default is the top-left corner.
Resize a symbol without stretching its text
By default an instance that is larger or smaller than the symbol stretches the whole drawing, text and line widths included: a value box of 73 × 20 drawn at 73 × 17 looks squashed. To keep text and lines as drawn, open the symbol for editing and, with nothing selected, set Resizing to Layout (constraints) instead of Scale.
In layout mode the drawing is not scaled. Each object of the symbol is placed again from its own constraints, which appear in the properties when you select it:
| Constraint | Values (default first) | Effect when the instance is resized |
|---|---|---|
| Horizontal constraint | Left, Right, Left and right (stretches), Middle, Proportional | Left: keeps its position and width. Right: keeps its distance to the right edge. Left and right: keeps both distances and gets wider or narrower. Middle: stays at the same place relative to the centre. Proportional: scales with the instance |
| Vertical constraint | Top, Bottom, Top and bottom (stretches), Middle, Proportional | The same, vertically |
Font size, line width and corner radius stay the same. Lines, polygons, arrows and pipes stretch with their points in a direction they stretch in and only move in the other. A symbol inside the symbol is drawn in its new box by its own rule. Connection points and the ends of electrical wires follow the instance box.
A symbol that changes with a signal
Symbol selection chooses which symbol the instance shows. Bind to state… next to it shows a different symbol for each value of a signal, for example one symbol for an open breaker and another for a closed one. You map values, ranges or bits to symbols, and choose a symbol for no match and one for a missing or bad value. The parameters are passed unchanged to every symbol of the mapping.
Symbols and other projects
A symbol belongs to its project. To use a symbol in another project, copy its objects in the symbol editor and paste them into a new symbol there, or bring it in with a screen package; see Import a screen package.