Turn on authentication
User login (authentication) is turned on per project. While it is off, anyone who can open YTCC works with full rights; see Permission model. There are two ways to turn it on:
| Way | Accounts it creates | When to use it |
|---|---|---|
| Enable Auth System in the New Project window | The nine standard profiles, and a profile admin with the administrator you enter | New projects. No account with a known password is created. |
| Turn on… on the Policies tab of the configuration editor | The nine standard profiles and one account for each, with the user name as password | Existing projects. Create personal accounts and disable the default accounts at once. |
Before you begin
- You are signed in as root on the home page. Creating a project, the configuration editor and user management belong to root. See Root, the system administrator.
- The users of a project only operate it: they work on the runtime screen with their profiles. Turning on authentication gives the project its users; it does not give them design rights. On a server upgraded from an earlier version, see Upgraded servers.
Steps
1. Create a project with authentication
On the home page, click New Project. Enter the Title and the Name, select Enable Auth System and enter the First admin user: a Username and the Password twice. Click Create.
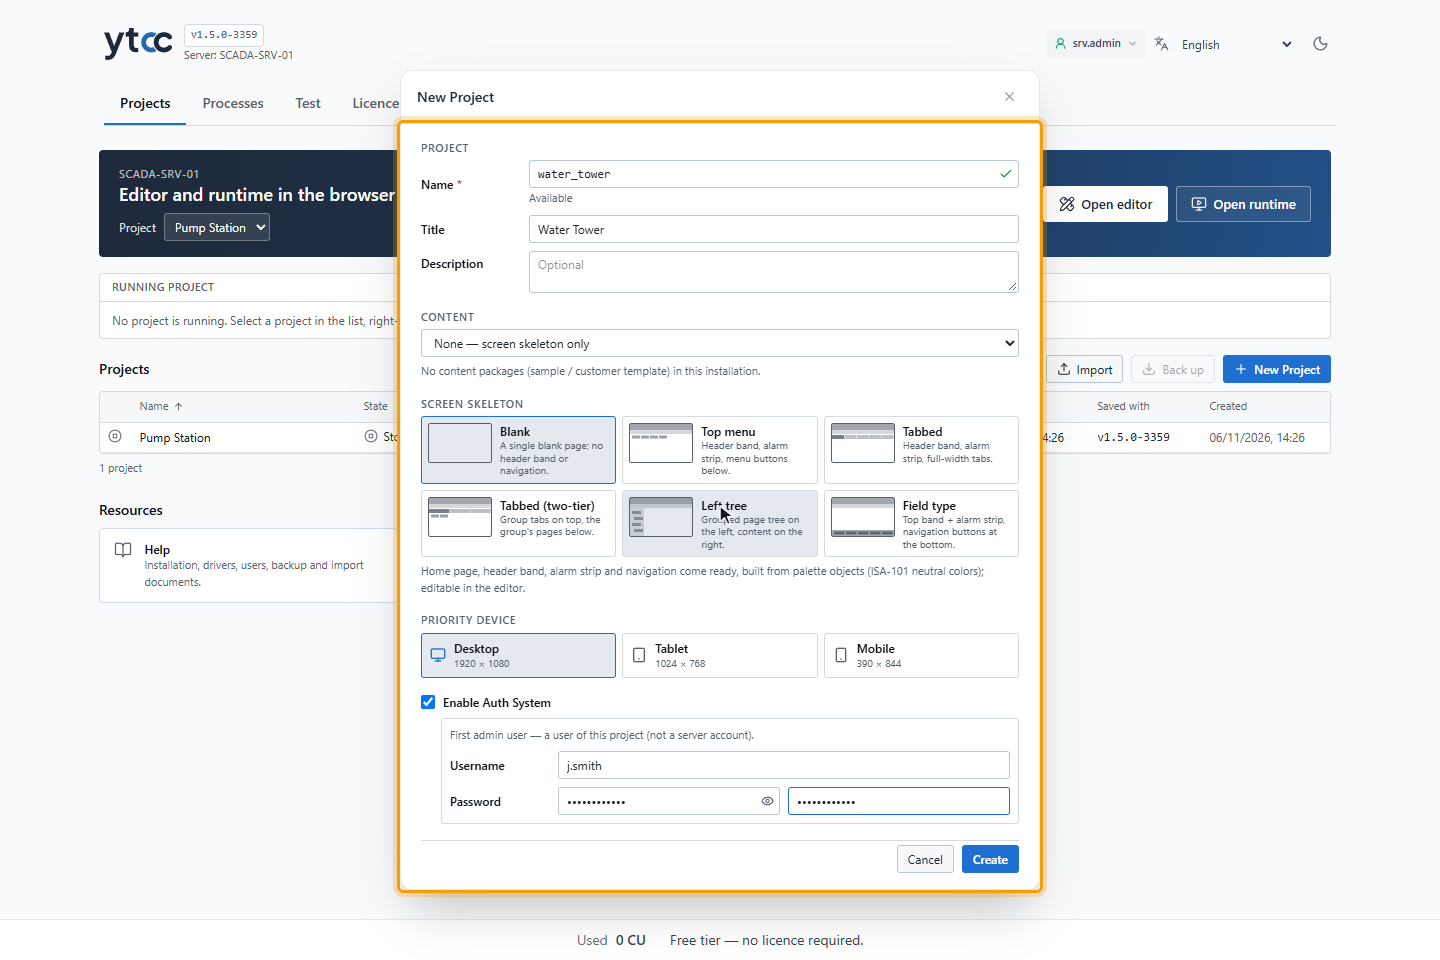
The project is created with authentication on. The fields of the window are explained in Your first project.
2. Open the project as root
The screen editor opens the new project with your root session; it does not ask for a sign-in. The first administrator you entered signs in on the runtime screen and in the sign-in windows of the project.
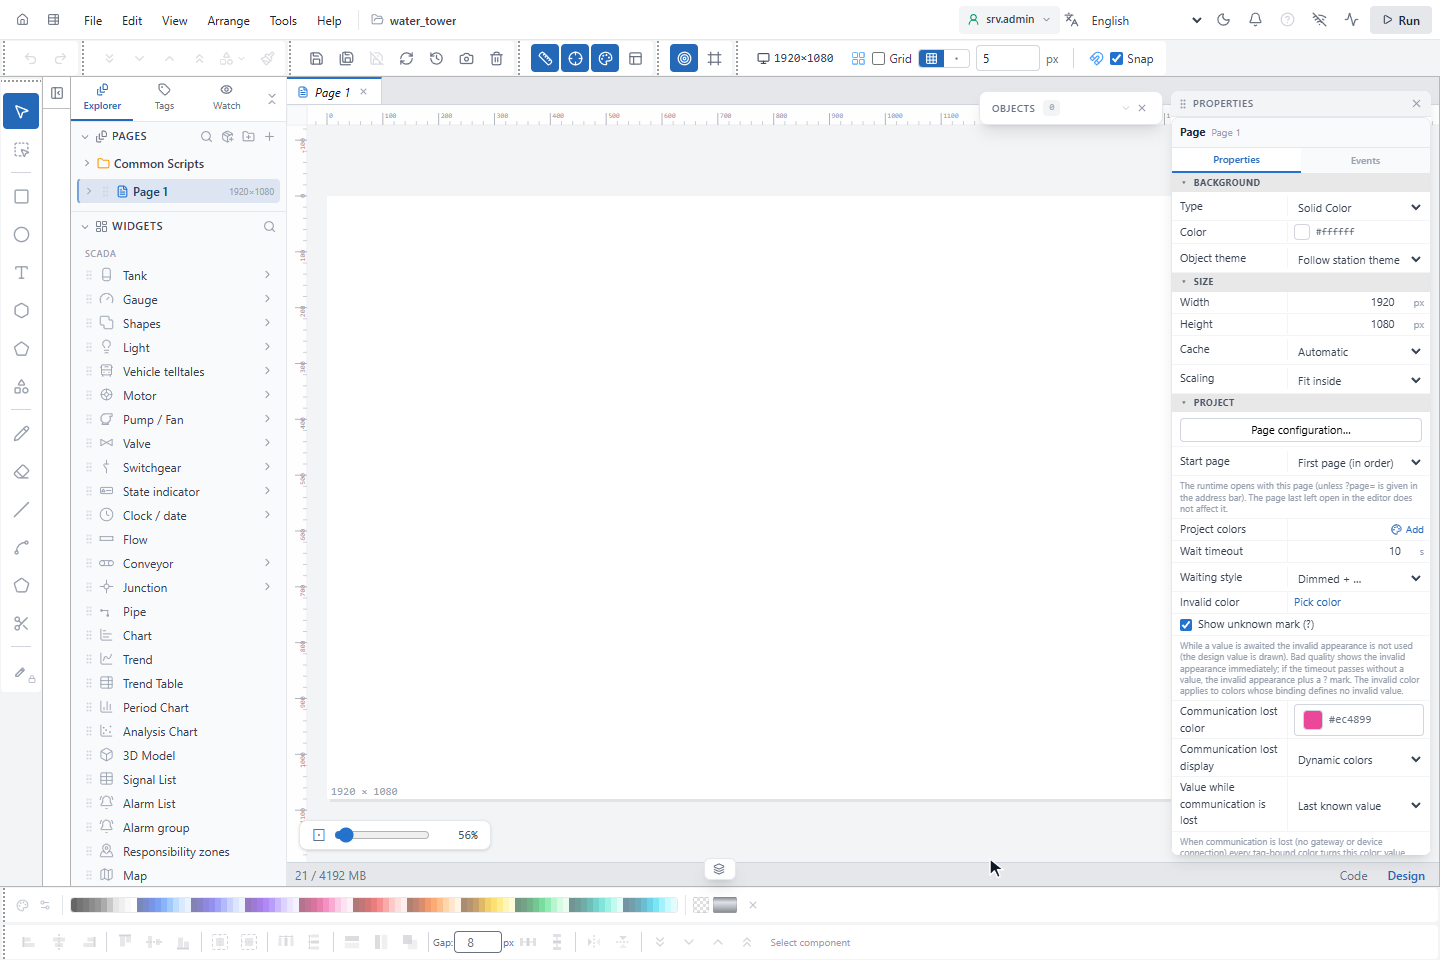
This way creates no default accounts. The project has a profile named admin with all permissions for the first
administrator, and the nine standard profiles without members. The administrator is a user of this project. Like every
project user, it operates; designing and user management stay with root.
3. Turn it on for an existing project
Open the project in the configuration editor as root, click Users in the activity bar and then Policies. Click Turn on…, then Turn on in the window. The editor keeps working with your root session.
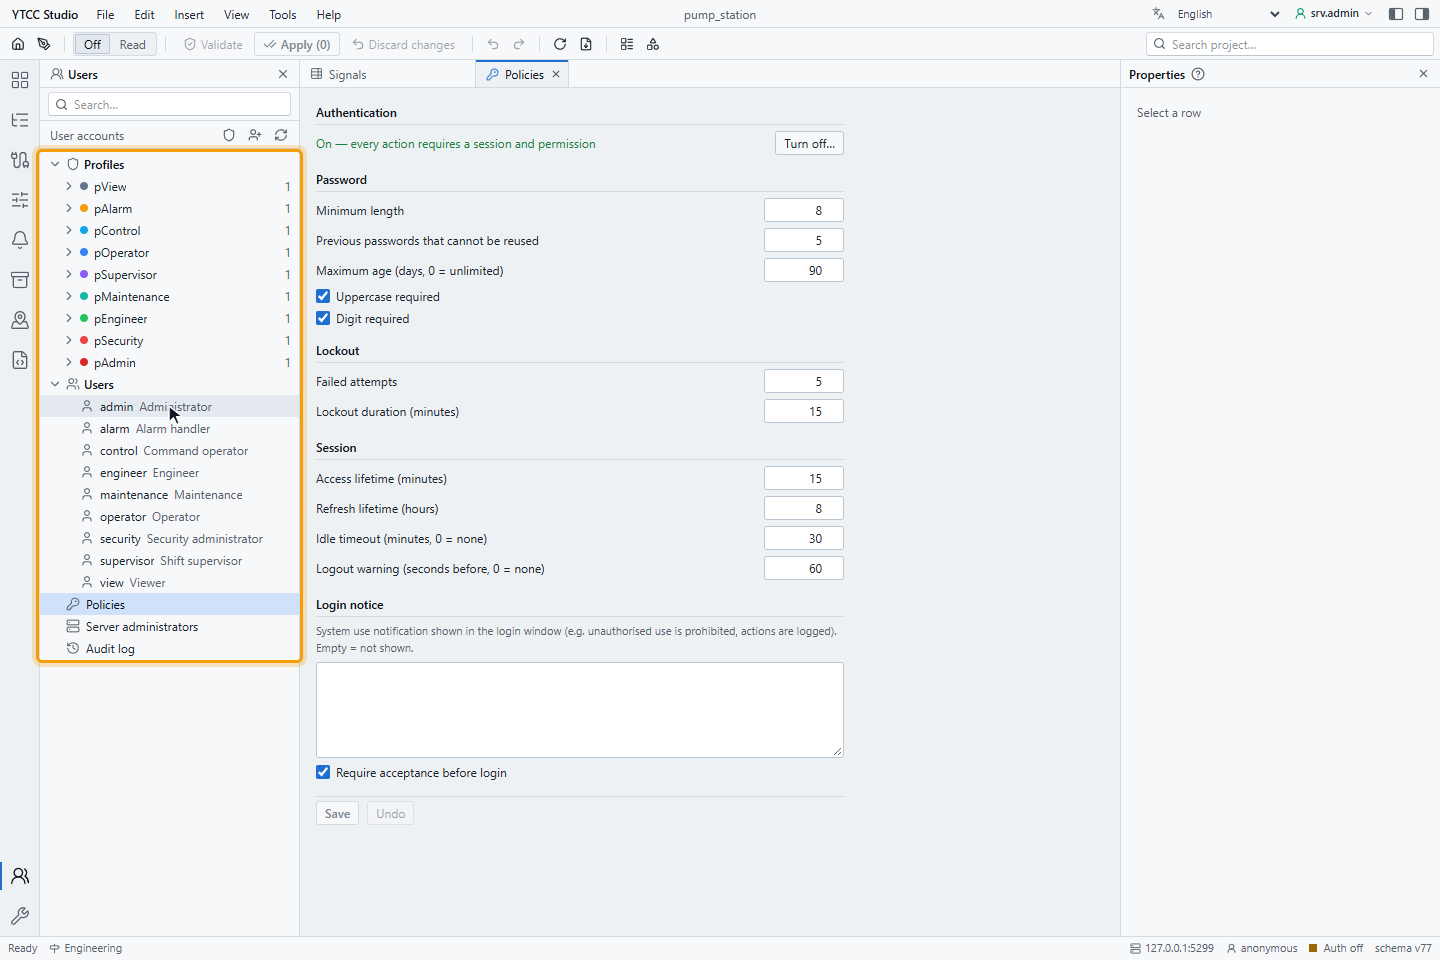
YTCC adds the profiles that are missing and one user for each, with the password equal to the user name. Existing users, passwords and profiles are not changed; a profile with the same name is kept. Turning authentication off and on again does not add accounts twice; it adds a deleted default account again, while a disabled one stays disabled.
The default passwords are known to everyone. Before the project controls a plant, create personal accounts, disable the default accounts. The tutorial Turn on sign-in and set up accounts shows the order.
The default accounts can sign in only to operate: admin, engineer and security cannot open the configuration
editor or manage users while the server has the root account. Authentication cannot be turned on unless at least one
enabled user of the project has the User management permission in a profile; otherwise the server refuses it.
4. Check the server administrators
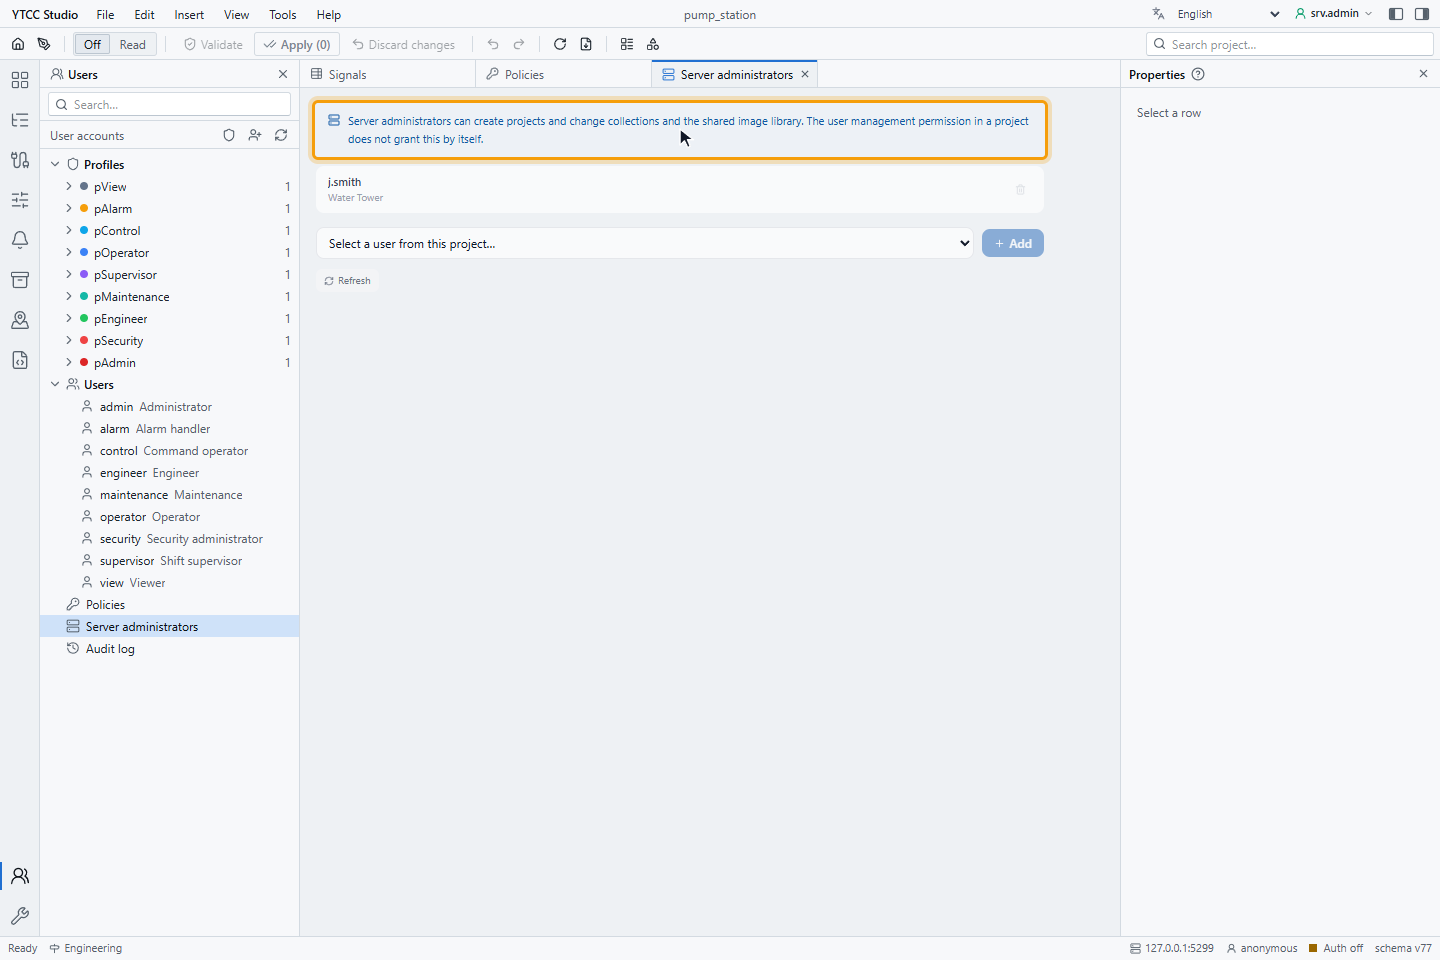
Click Server administrators in the tree. Server actions and design stay with root, so there is nothing to set here.
5. Turn authentication off (if needed)
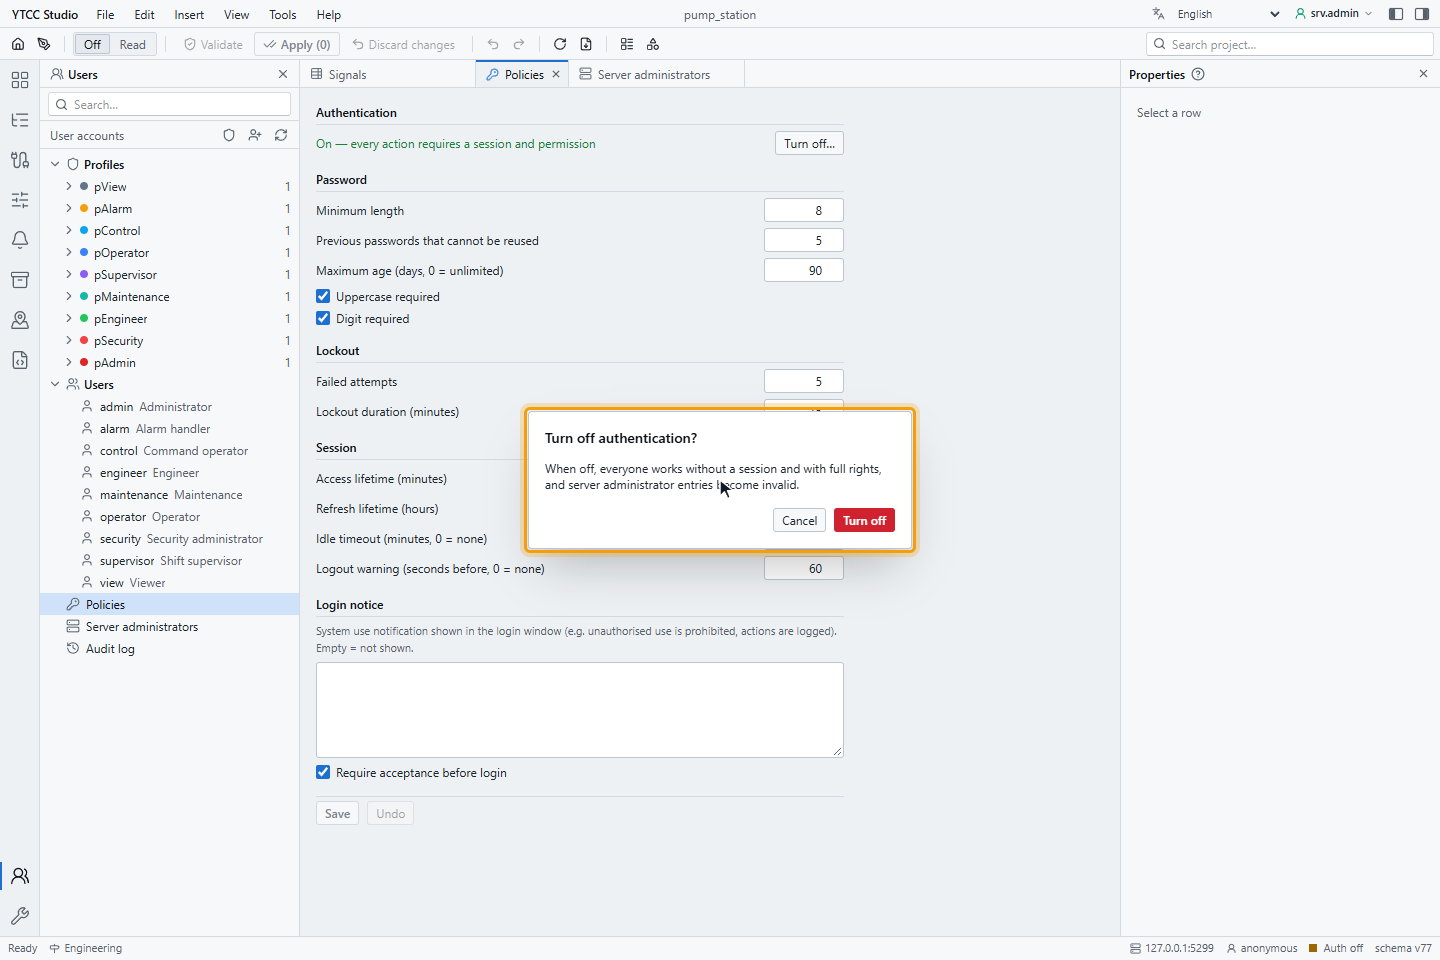
On Policies, click Turn off…. The window Turn off authentication? warns that everyone will then work without a session and with full rights, and that server administrator entries become invalid. Click Turn off to turn it off, or Cancel to keep authentication on.
Result
The project requires sign-in. Project users work on the runtime screen within their profiles, root designs and manages, and every action is recorded with the name of the user who did it.
Good to know
- With authentication on, root signs in to the project with the root user name and password; it is not a user of the project and does not appear in its user list.
- Deleting a project, also one with authentication on, needs a root sign-in on the home page; see Rename, copy and delete a project.