Your first screen
In this tutorial you draw a tank on the project's first page and connect its level to the signal you created in the previous tutorial. You then watch its live value in the screen editor and save the page.
Before you begin
- The project has the internal signal
Level_Setpoint. See Your first signal - an internal signal.
Steps
1. Start the project
On the home page, right-click the project and choose Start. The Start project? window says that the project's drivers will connect to the field devices; click Start. The project's state changes to Running.
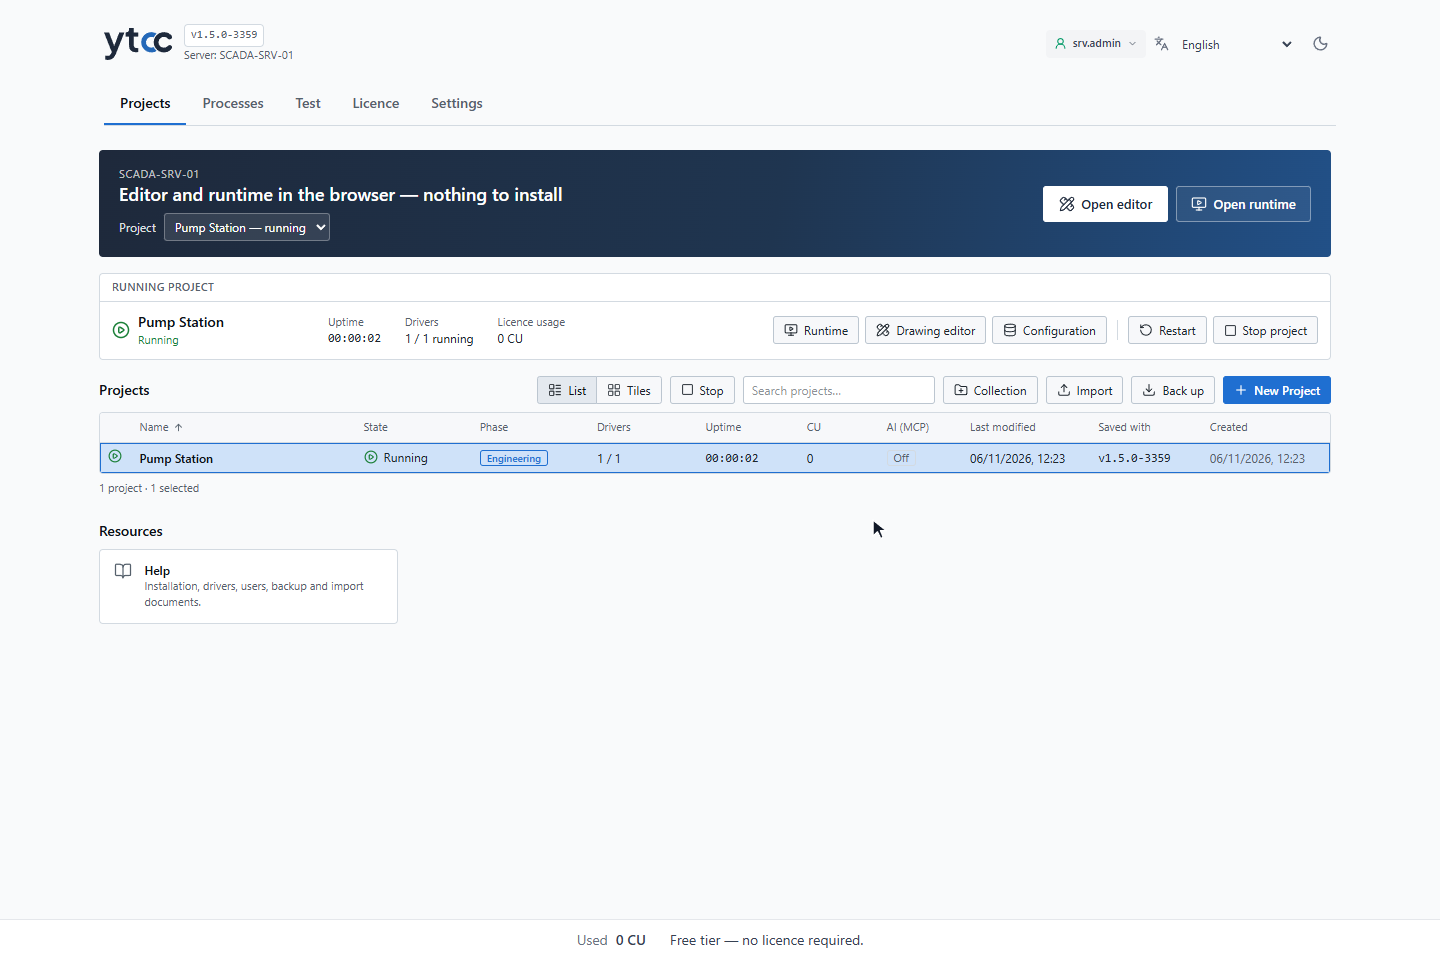
The project has to run so that its signals have values. Opening the screen editor does not start it.
2. Open the screen editor
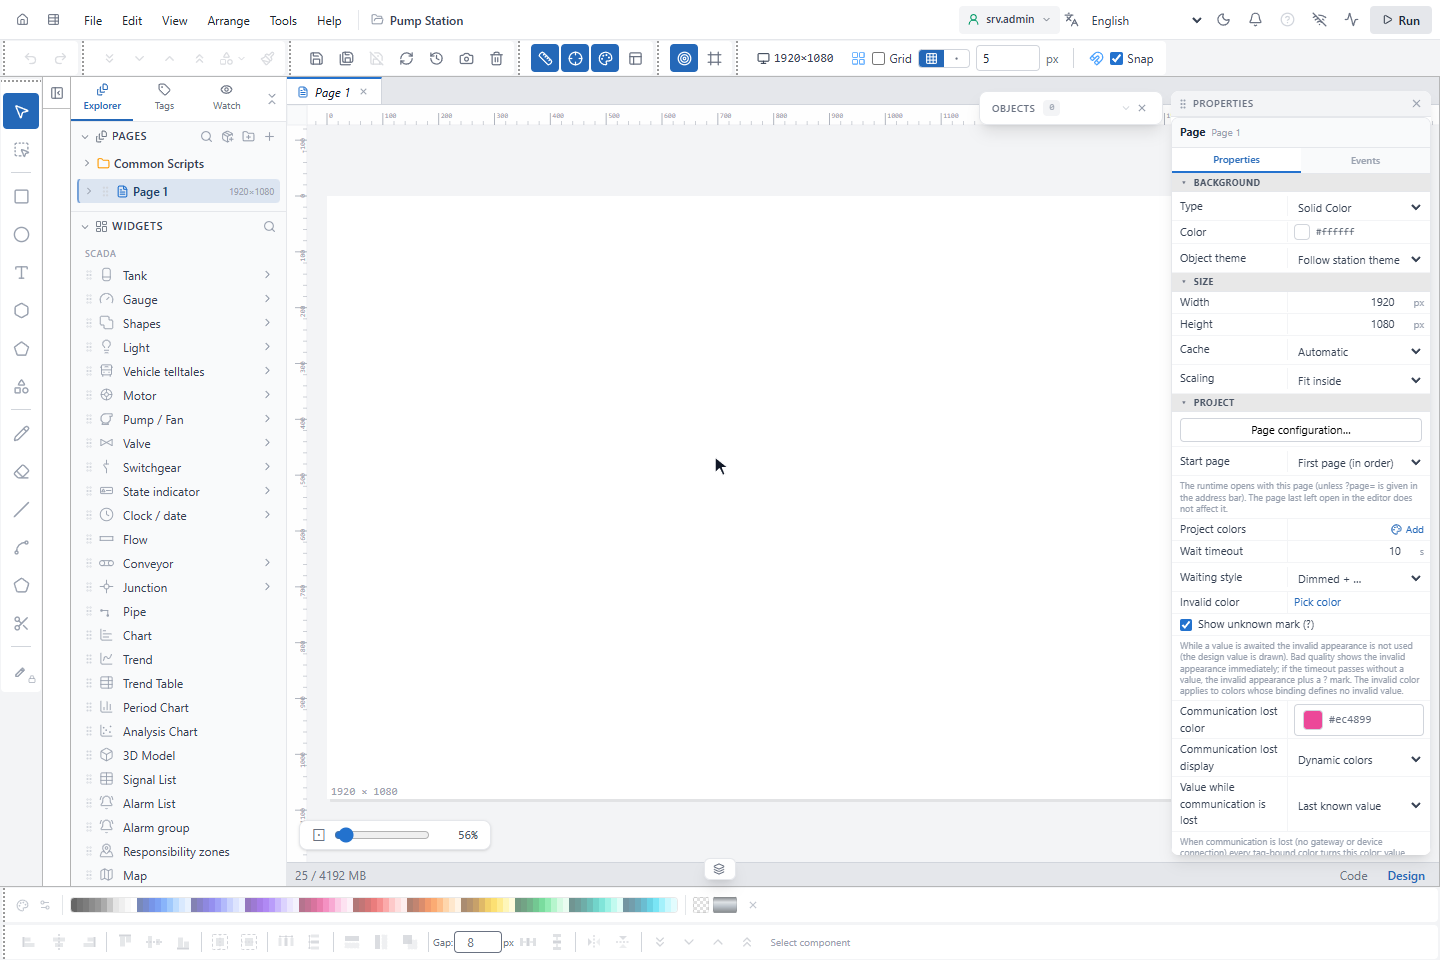
Double-click the project. The screen editor opens with the project's first page.
3. Place a tank
In the WIDGETS list on the left, click Tank. The Tanks side menu shows the kinds of tank. Click Vertical
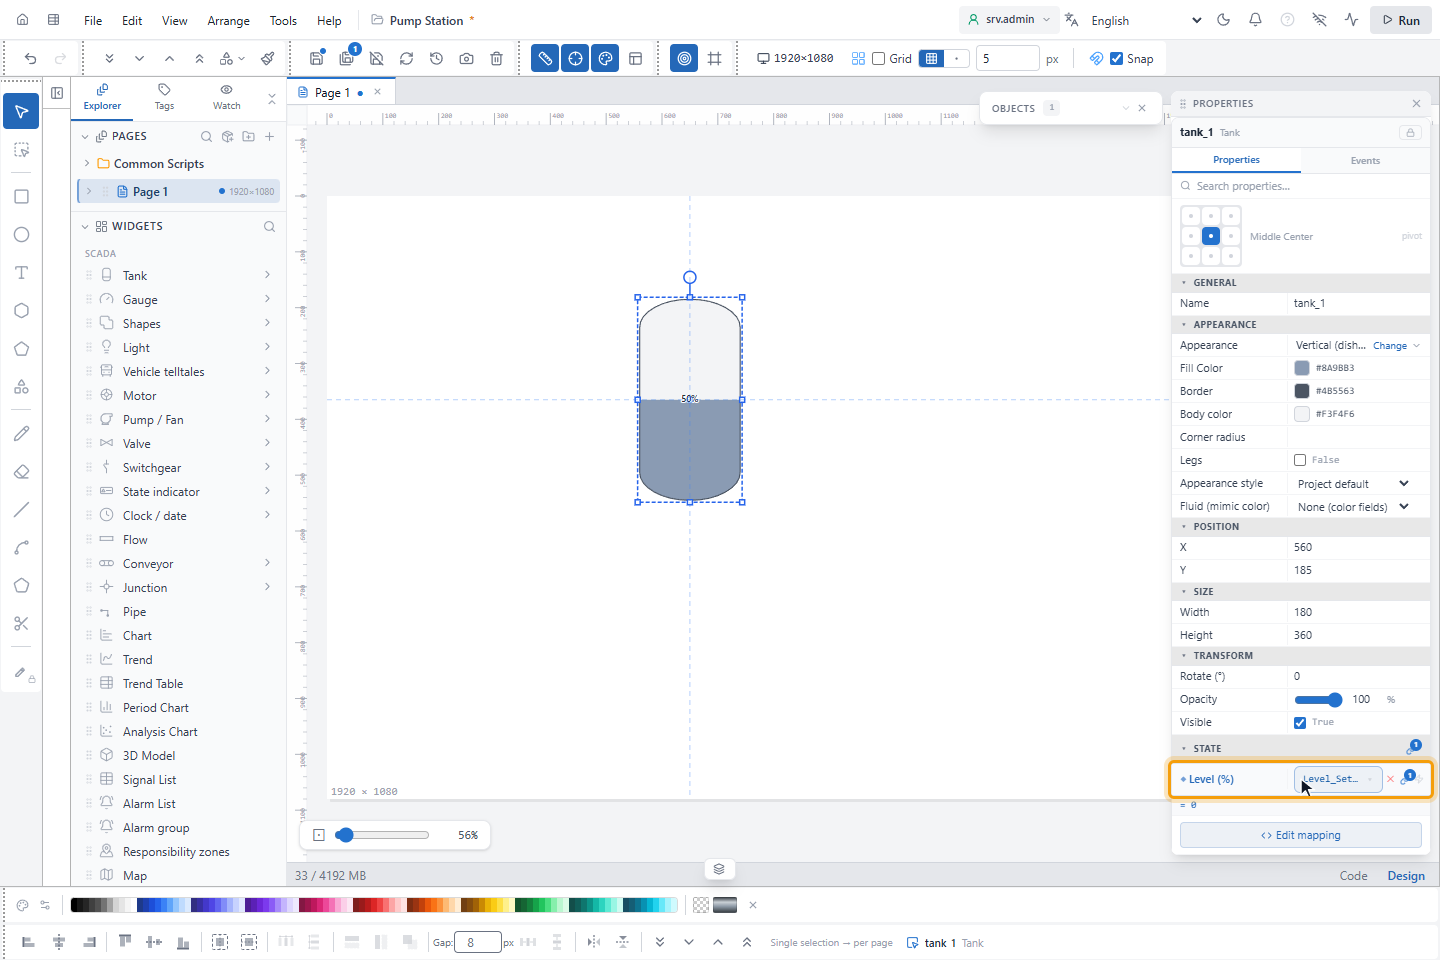
(dished heads) and drag a rectangle on the page. The tank appears with the name tank_1 and shows its design level,
50 %.
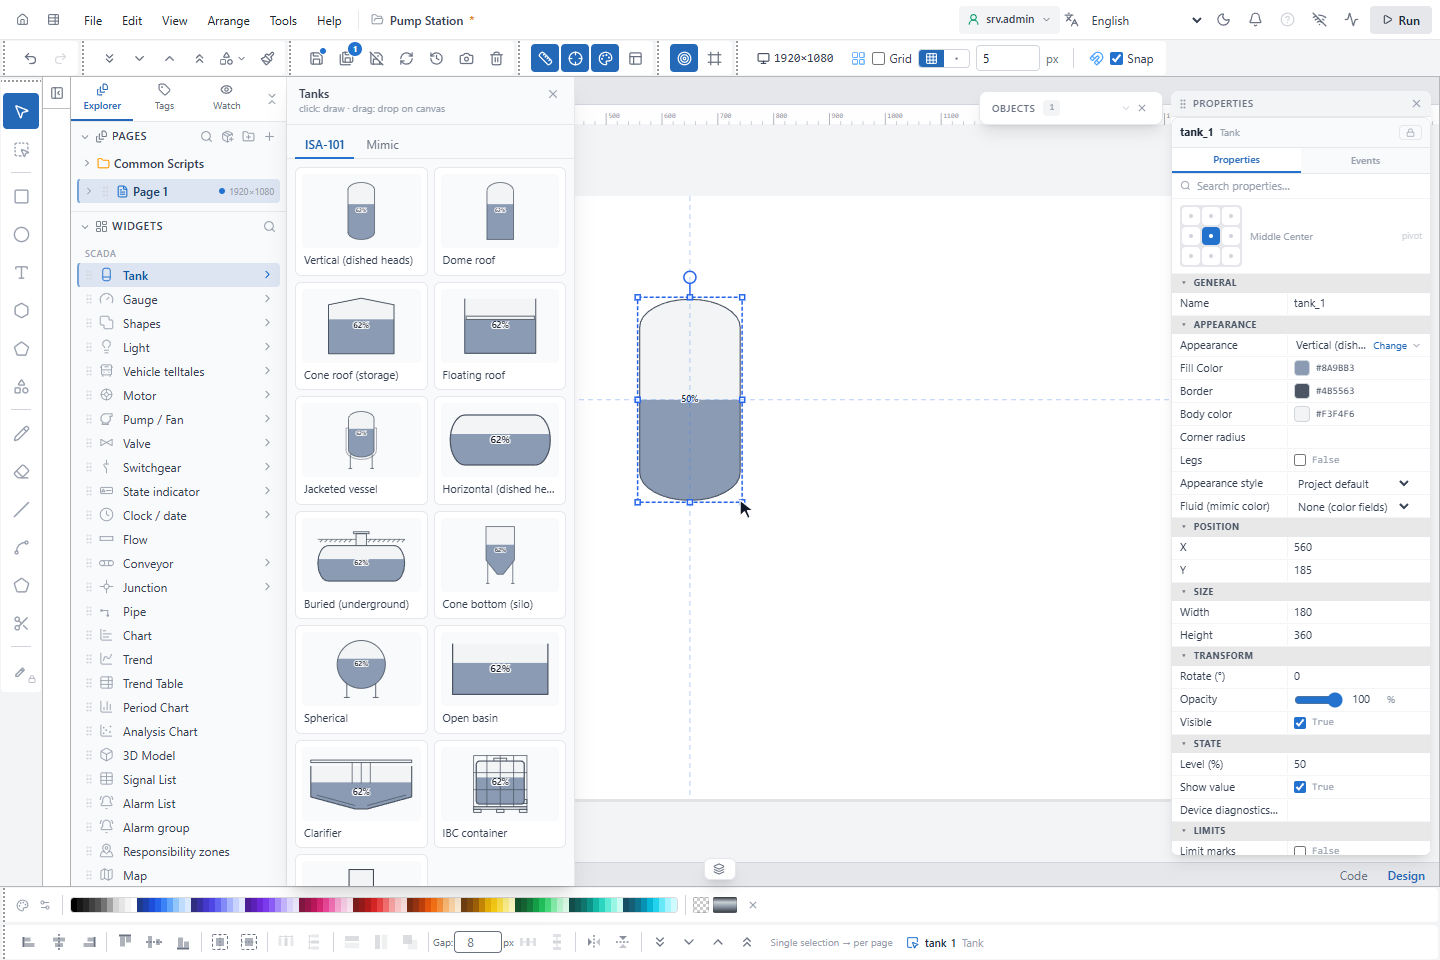
The side menu stays open so that you can place more objects. Close it with ×.
4. Bind the level to the signal
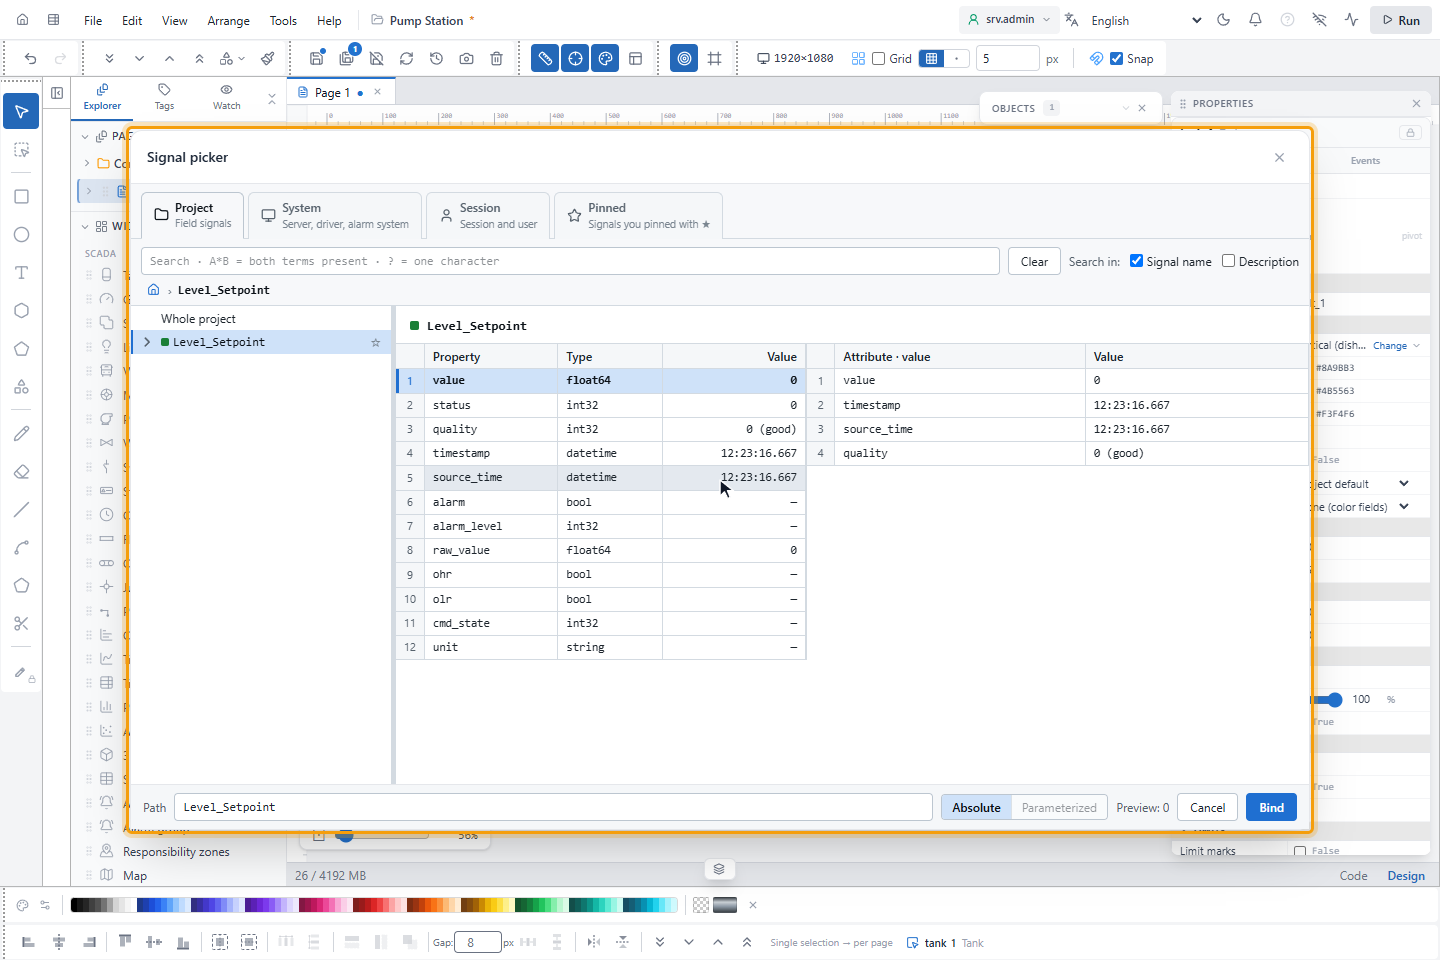
With the tank selected, find Level (%) under STATE in the PROPERTIES panel. Point at the row and click the
chain icon, Bind to tag. The Signal picker opens and shows the signals of the
project in a tree. Click Level_Setpoint.
5. Apply the binding
Click Bind. In the PROPERTIES panel, Level (%) is now marked with a blue dot and shows the signal name, with Edit mapping below it. The level takes the signal's value as it is.
6. Check it with live values
Click Live preview at the right of the toolbar. The tank now shows the signal's value: 0%, because
Level_Setpoint is 0.0. The row under Level (%) shows the same value, = 0.
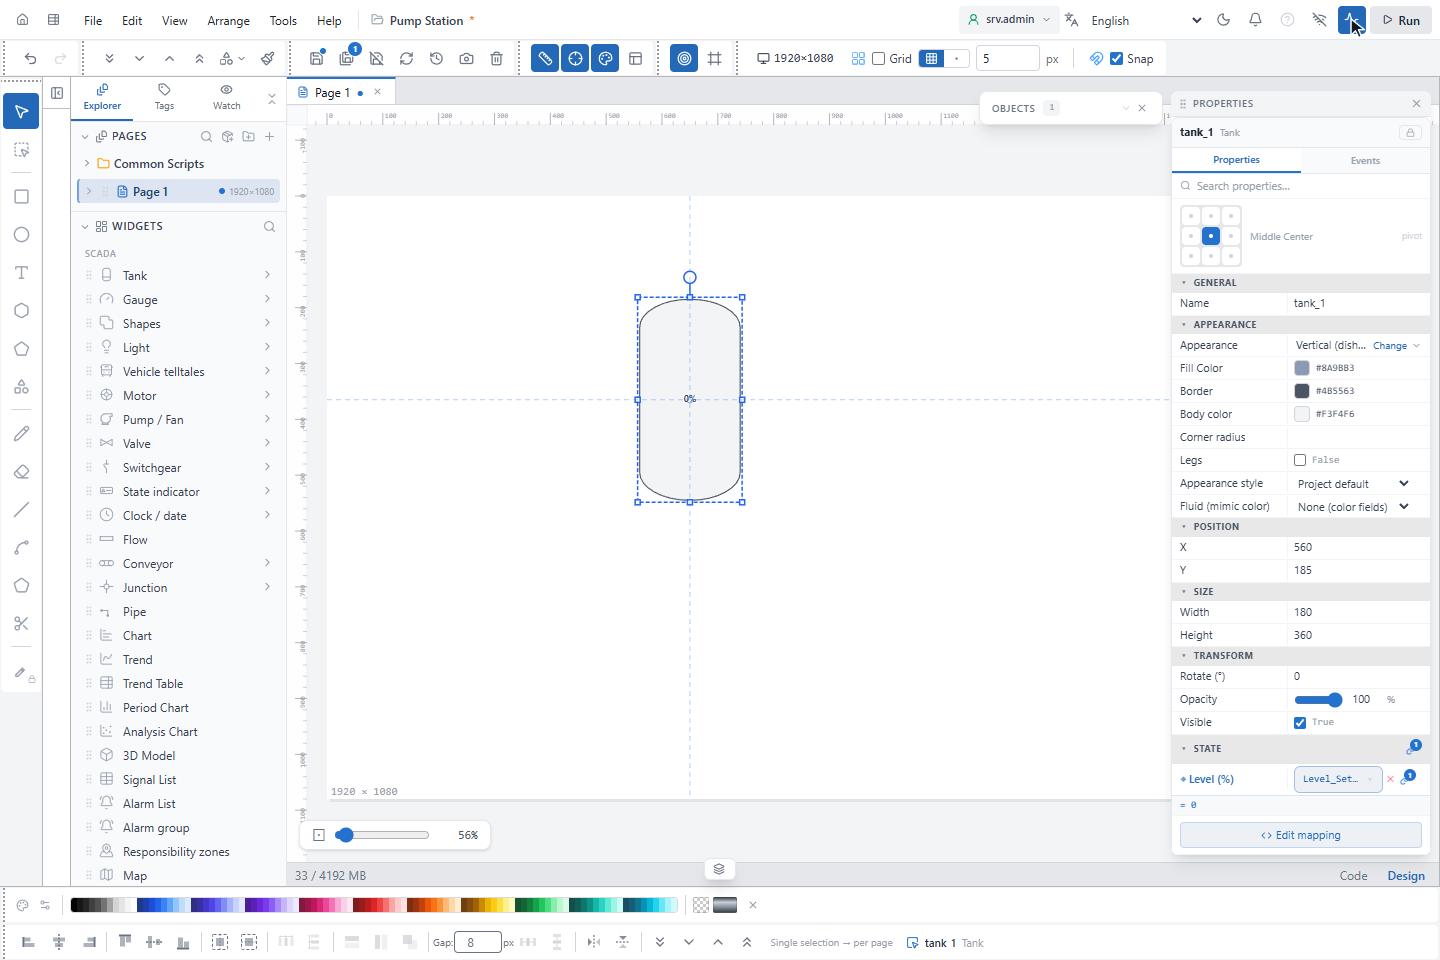
The tank's level is a percentage from 0 to 100, so the signal should have values in that range.
7. Save the page
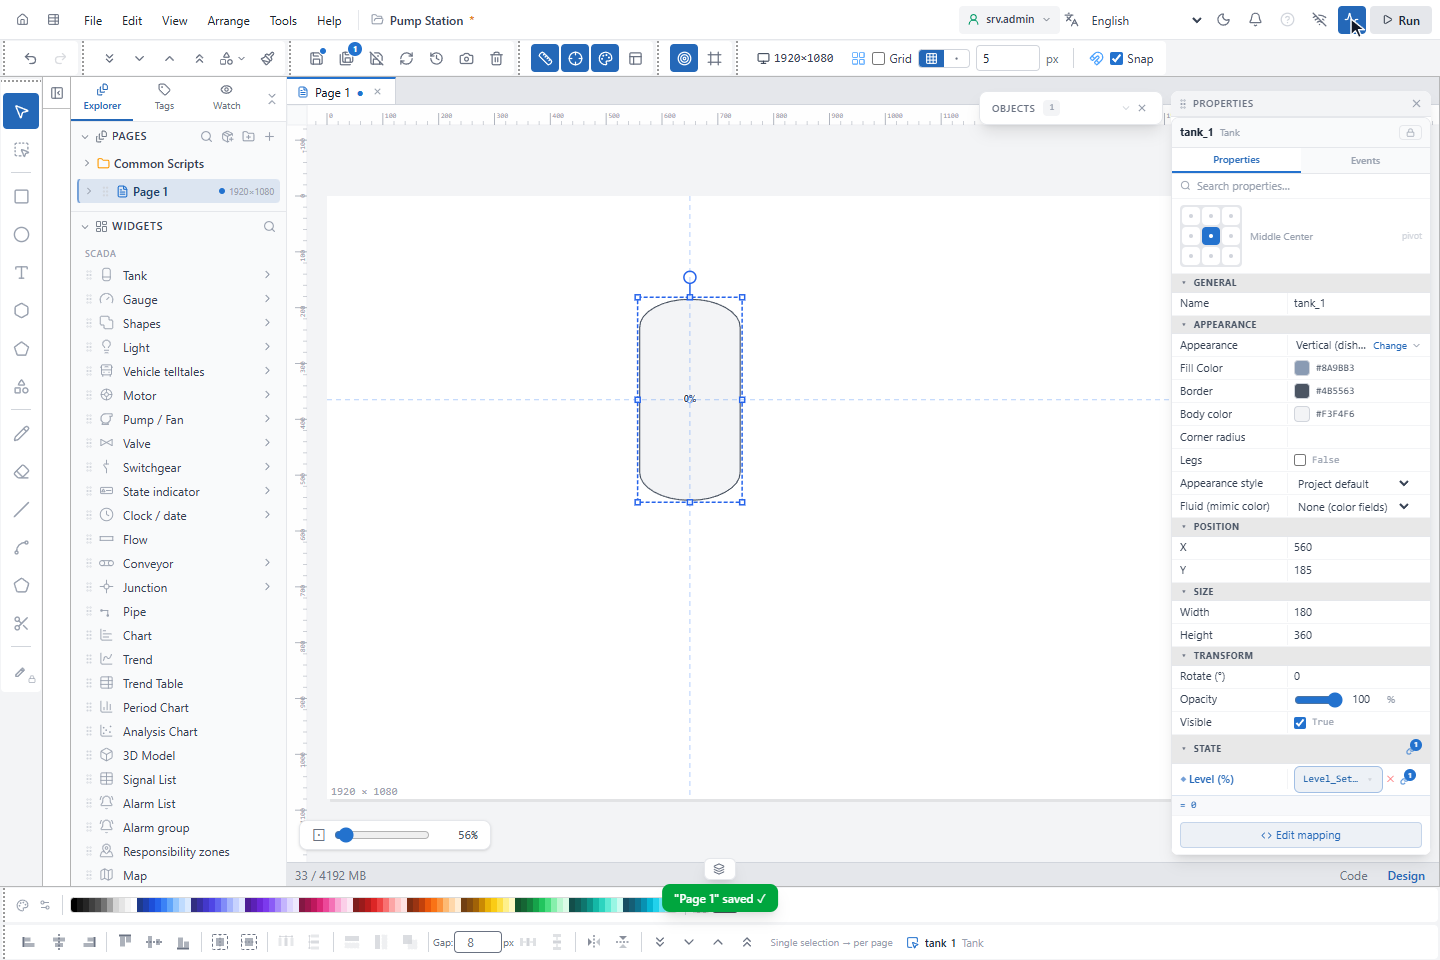
Press Ctrl+S. A short message at the bottom says that the page was saved.
Result
The first page has a tank whose level follows Level_Setpoint. The page is saved in the project.
Next steps
- Run the screen and watch a value changes the signal from the screen and opens the runtime screen.
- Bind objects to signals explains the other ways of mapping a signal to a property, such as colors for on and off.